
Let there be LIGHT
/Adding natural light to a home can be tricky. You have to know where it makes sense and get the most out of it. I knew that by taking down walls I would be able to share the light with the front and rear, but I needed to do more. When I first walked through the home there was a breezeway/mud room that was portioned off from the rest of the home. It is around a 200 sq.ft. room that was just being wasted and not utilized like it should be. This room must have been separated from the home in the past since the garage is right next to it. It is also is a slab on grade and not part of the basement so that tells me it was added at a later date. The cool part about this section of the home is that it had a second front entrance/porch, a sliding rear door, and a skylight that pours a ton of light into the home.

The front door is behind me and shown here is the rear door and existing Velux skylight.
I had to share this light with rest of the home and there was only one way to do that. Take down the wall separating the mud room from the main house. To create even more light I decided to add a second skylight that would flood this area with a ton of natural light. Now I know what everyone is going to say “skylights leak and they can add more issues to the roof”. That could be the case if you go with an inferior manufacture of skylights. That is why when installing skylights I only choose VELUX. The existing skylight is an older Velux model that is 30 years old! The incredible thing is that even this older model has never leaked! There is no sign of water damage anywhere. First thing I need to do is take down the drywall and see what I am working with.
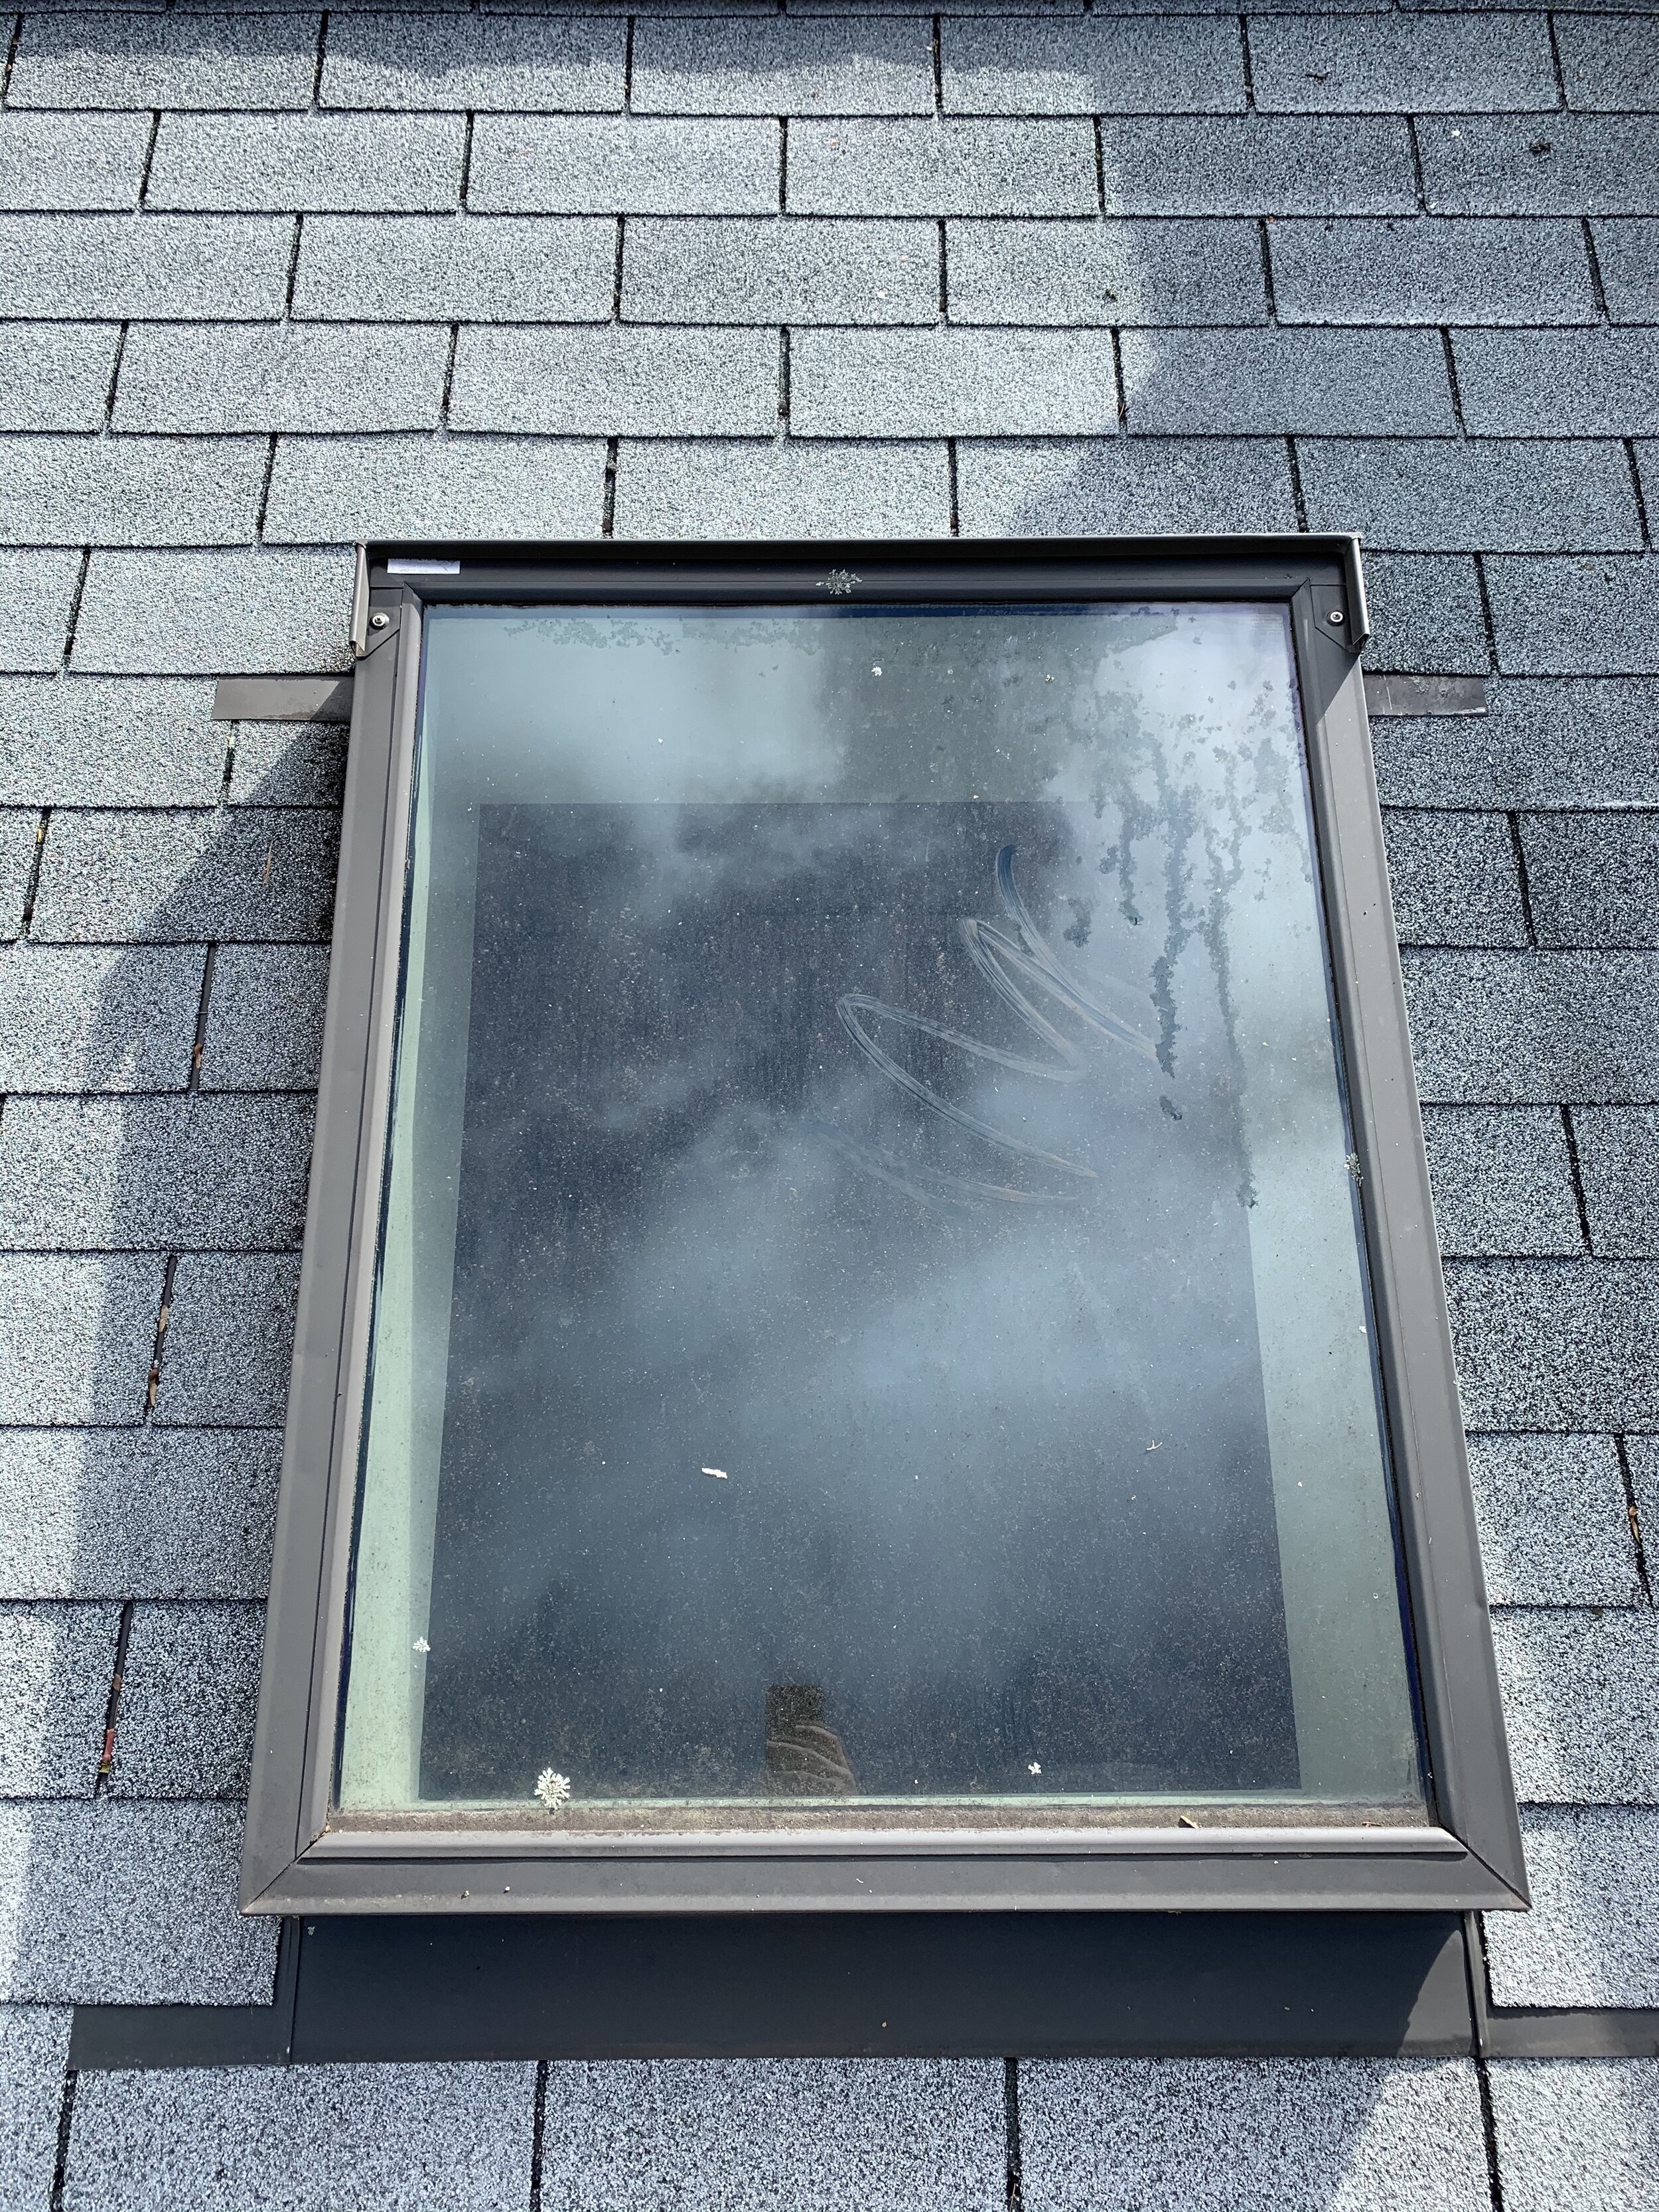
Existing 30 year Velux skylight.
Existing Velux skylight and old roof.

Drywall is down in the mudroom area.
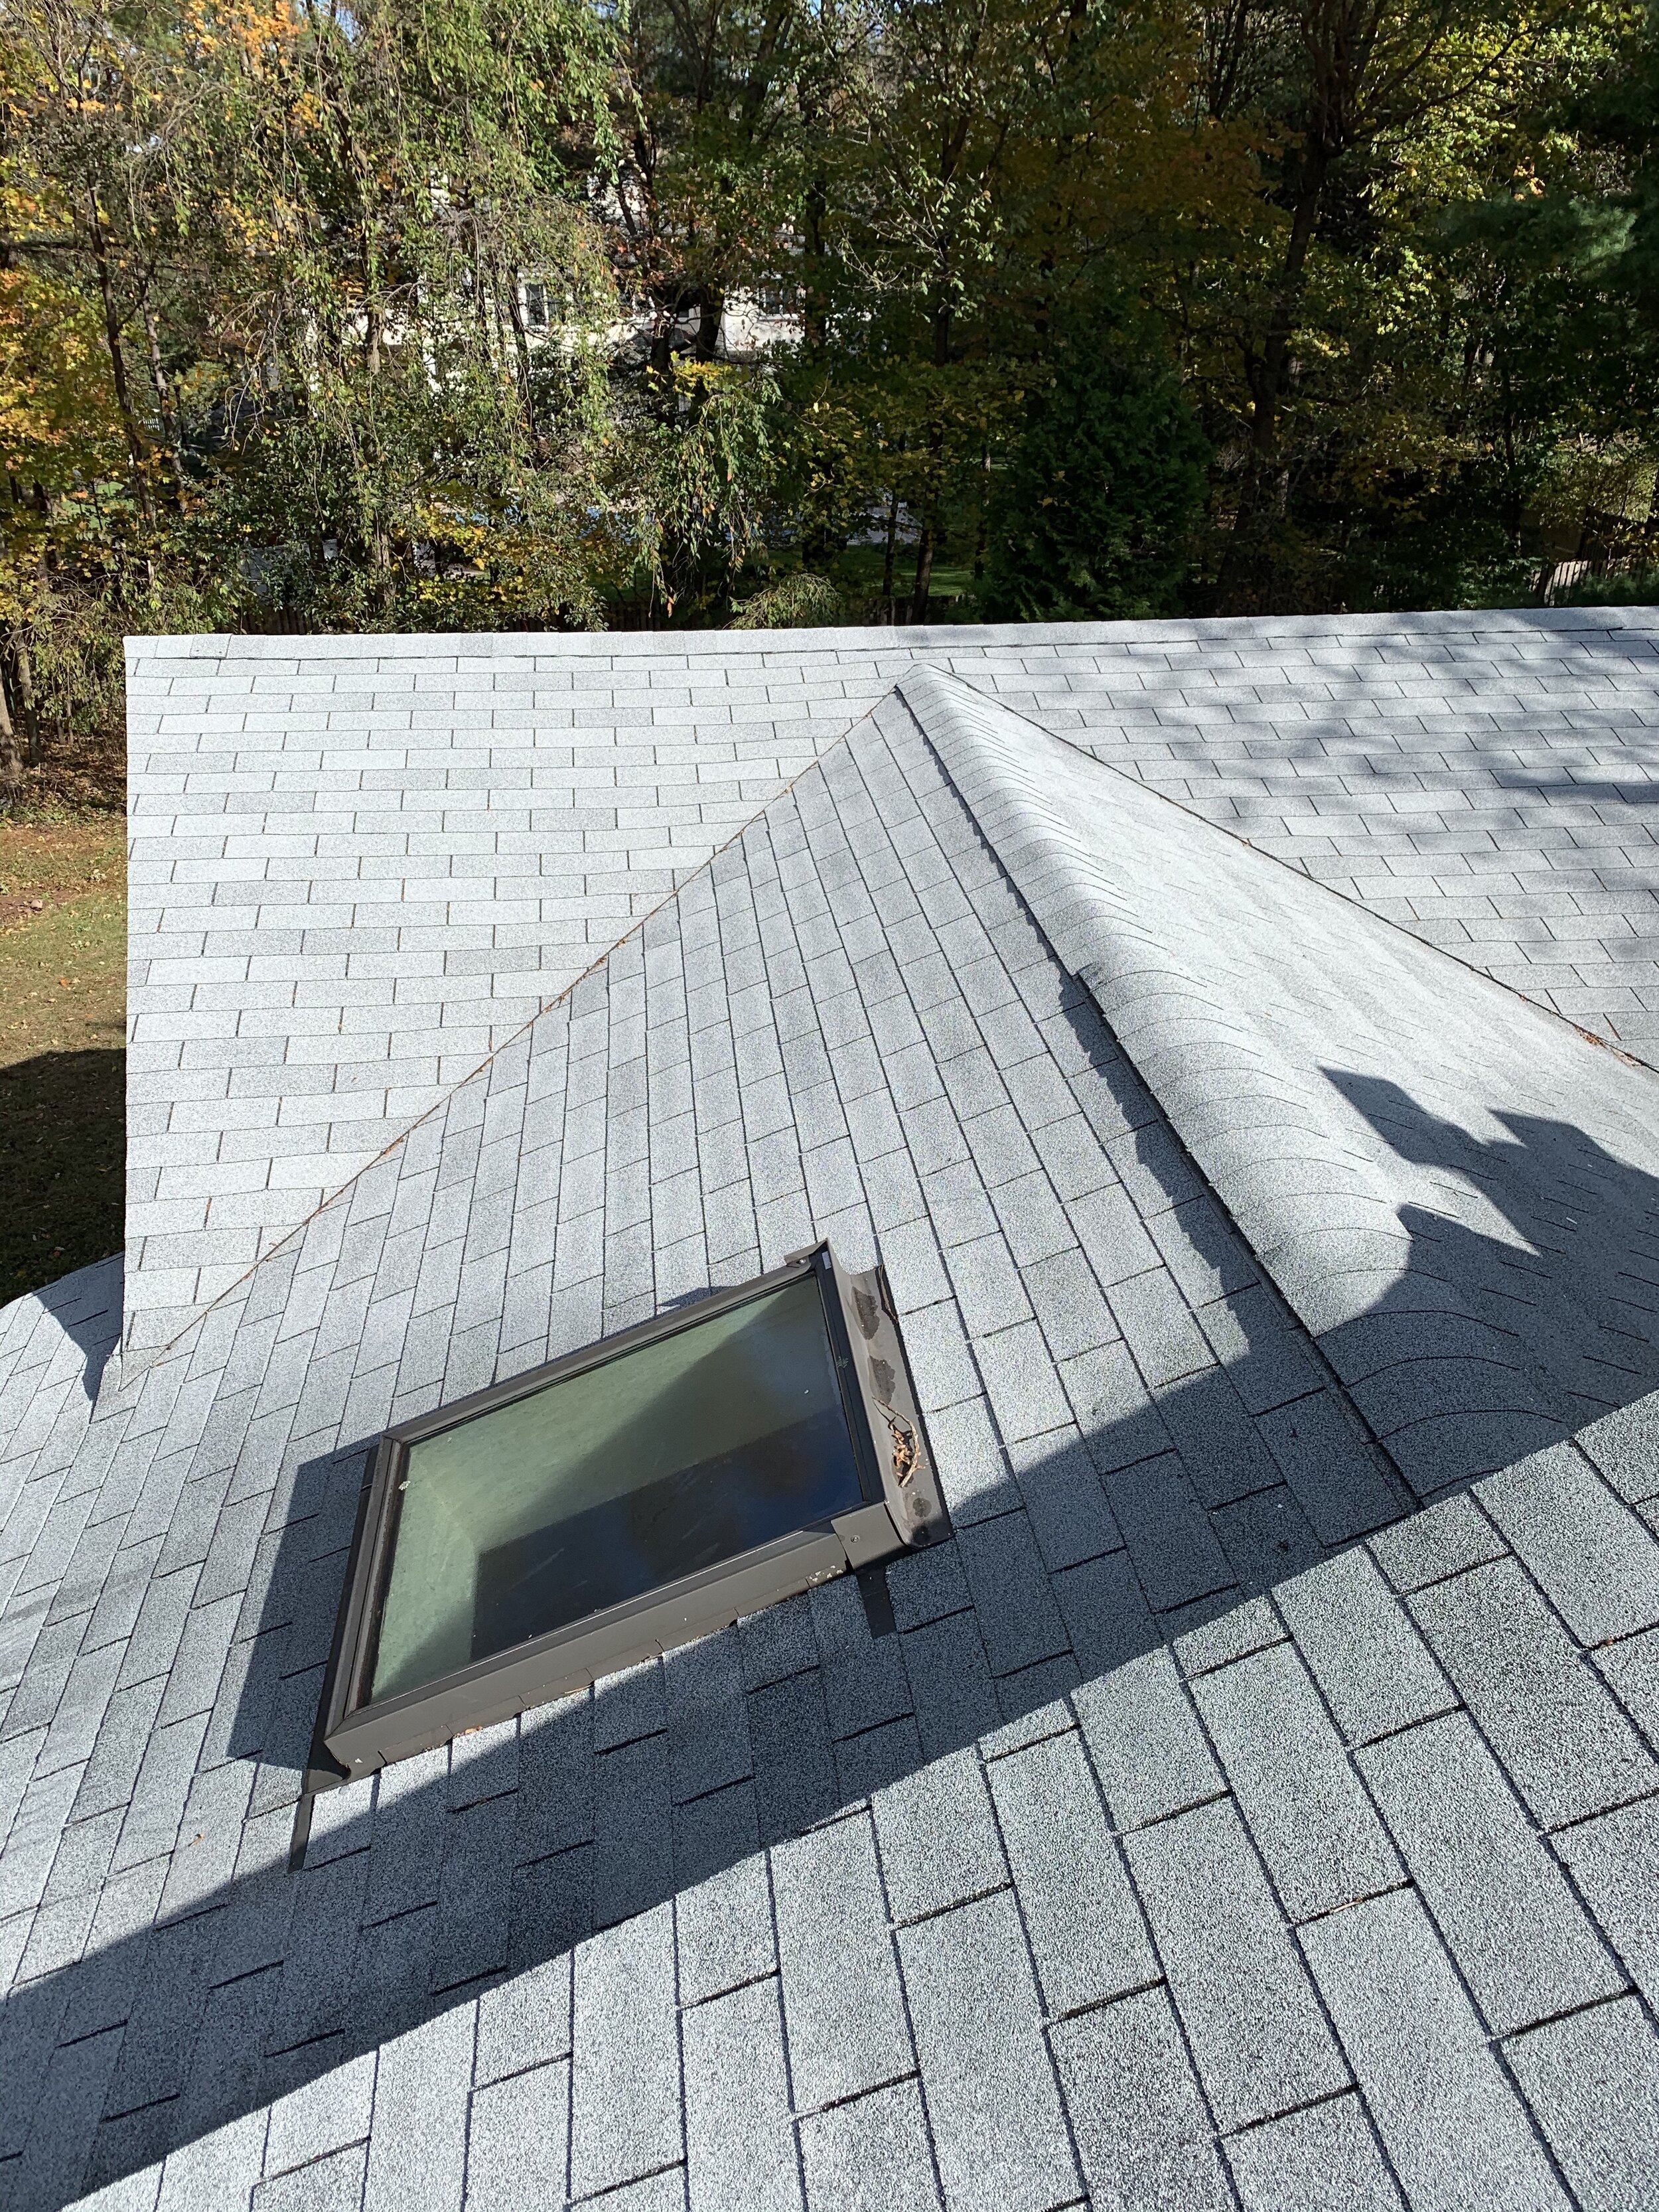
Now I can see all the framing underneath the skylight. I have 12’ ceilings in this area and with all the light pouring in it is going to be make a HUGE difference in the rest of the home. As I thought there is no water damage at all and the old skylight has done a great job over the years. The skylight is going to go directly adjacent to the existing skylight and will be located on the front pitch of the roof. Now as the sun comes over top of the home I will get sunlight from all angles that will be shared with the main living area of the home. Natural light always make a home feel larger than it really is that is why you want to be able to bring as much natural light into the home that you can. Next steps, it is time to start taking off the old roof.

Existing roof

Old Roof is on it’s way out!
In no time the old roof is off and big changes are happening fast. I wanted to make sure there was no rot underneath the old roof since there were 2 layers of roof on the home. This is the cheap fix when homeowners are looking to replace a roof and is NOT recommended. This adds a lot of weight to the home and can lead to future water damage. As a builder, water is my biggest enemy and I am always looking to make sure I stop it from entering a home. The new roof will be a GAF 50 year Timberline in charcoal. The black roof will really pop with home being painted white now. Ice and water shield will be added to all the edges. This is where moisture always builds up and normally has damage. I knew I was going to find some rot and you will see from the picture below the facia that needed to be changed out. This was just one area of the home, but there were a couple that also looked liked this. A new felt buster will also be added along with re-flashing of the chimney. I got rid of the exhaust fan in the attic since it did really nothing and installed a GAF cobra ridge vent along the entire main roof line. Always make sure your attic area is properly vented with a ridge vent, gable vents, and eave vents. You need to have the proper circulation of air inside your roof and eaves so no future rot will start in the attic.

New 3 1/2” ridge vent is cut in on the main roof line.

The roof is off and the plywood is in great shape underneath. Very few pieces needed to be changed out.
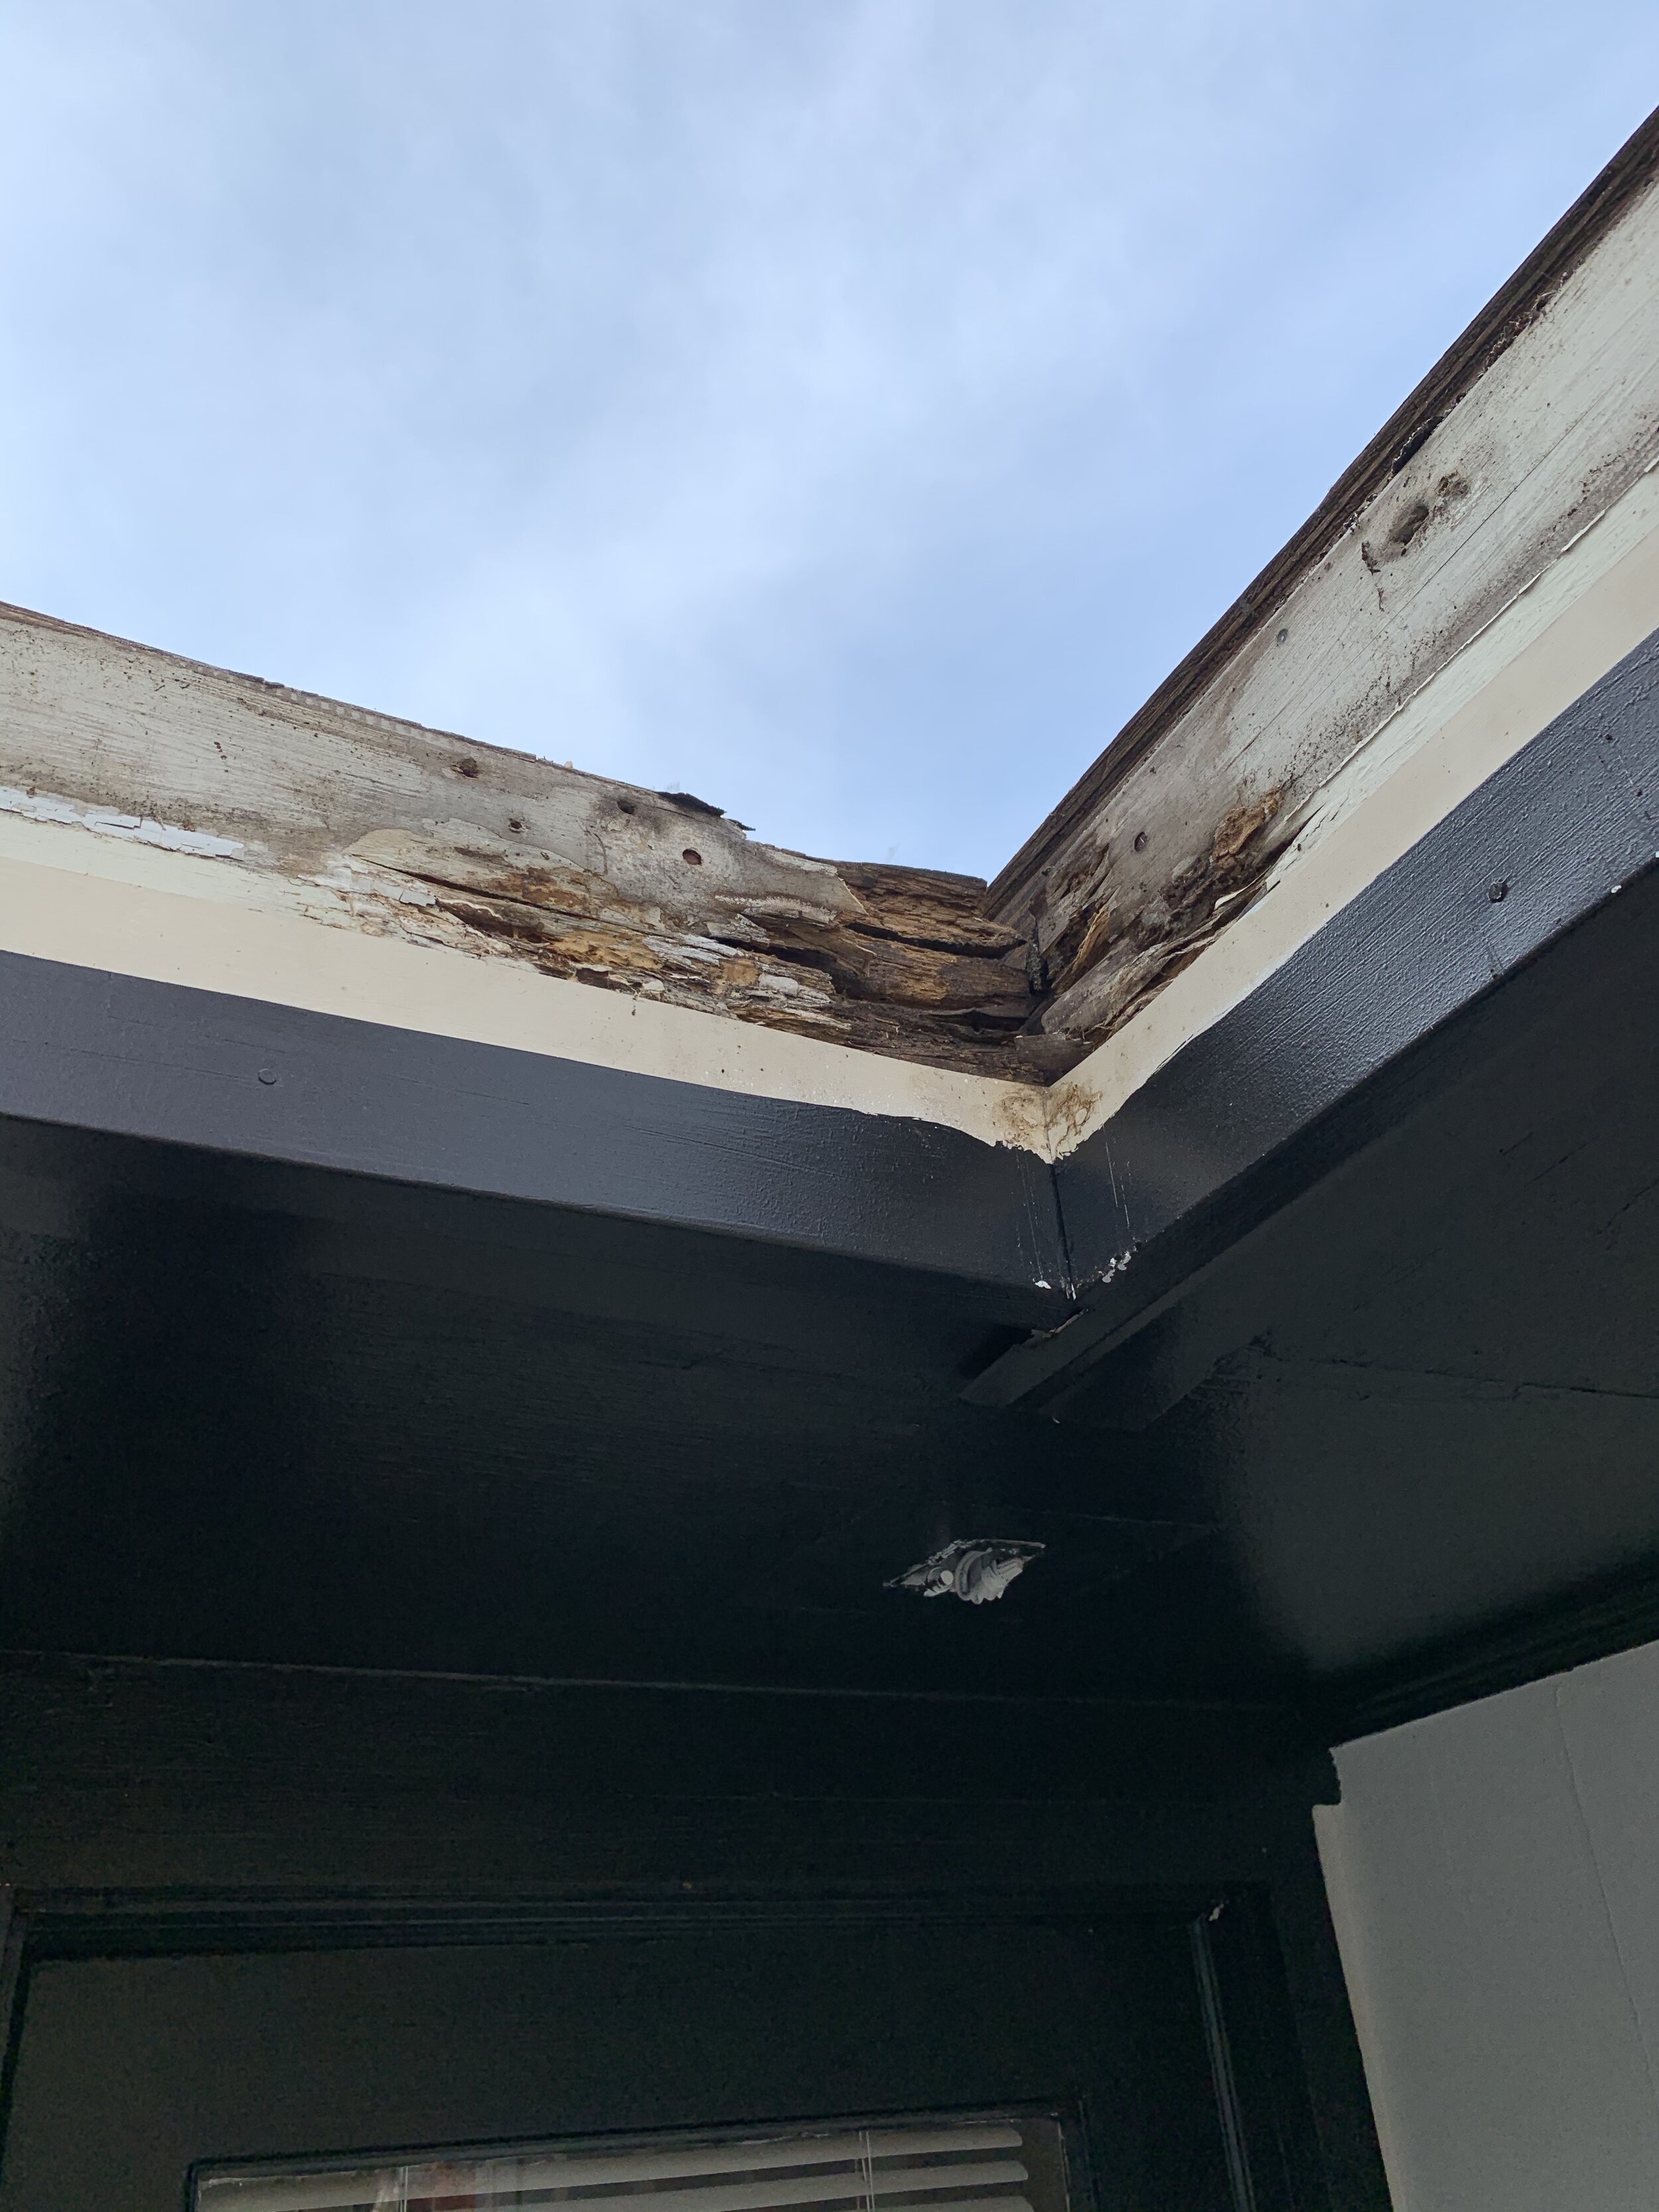
This area is a pitch point that runs into the old gutter. You can see that the water was getting behind the gutter and running down the facia.
One large surprise that I found was a huge wasp nest that was in one of the eaves. This must have been there for a long time and as I took off a little more of the eave I found another 5 nests!!!!! This is just one of the unforeseen problems that arise in a renovation and have to be handled immediately when they are found.
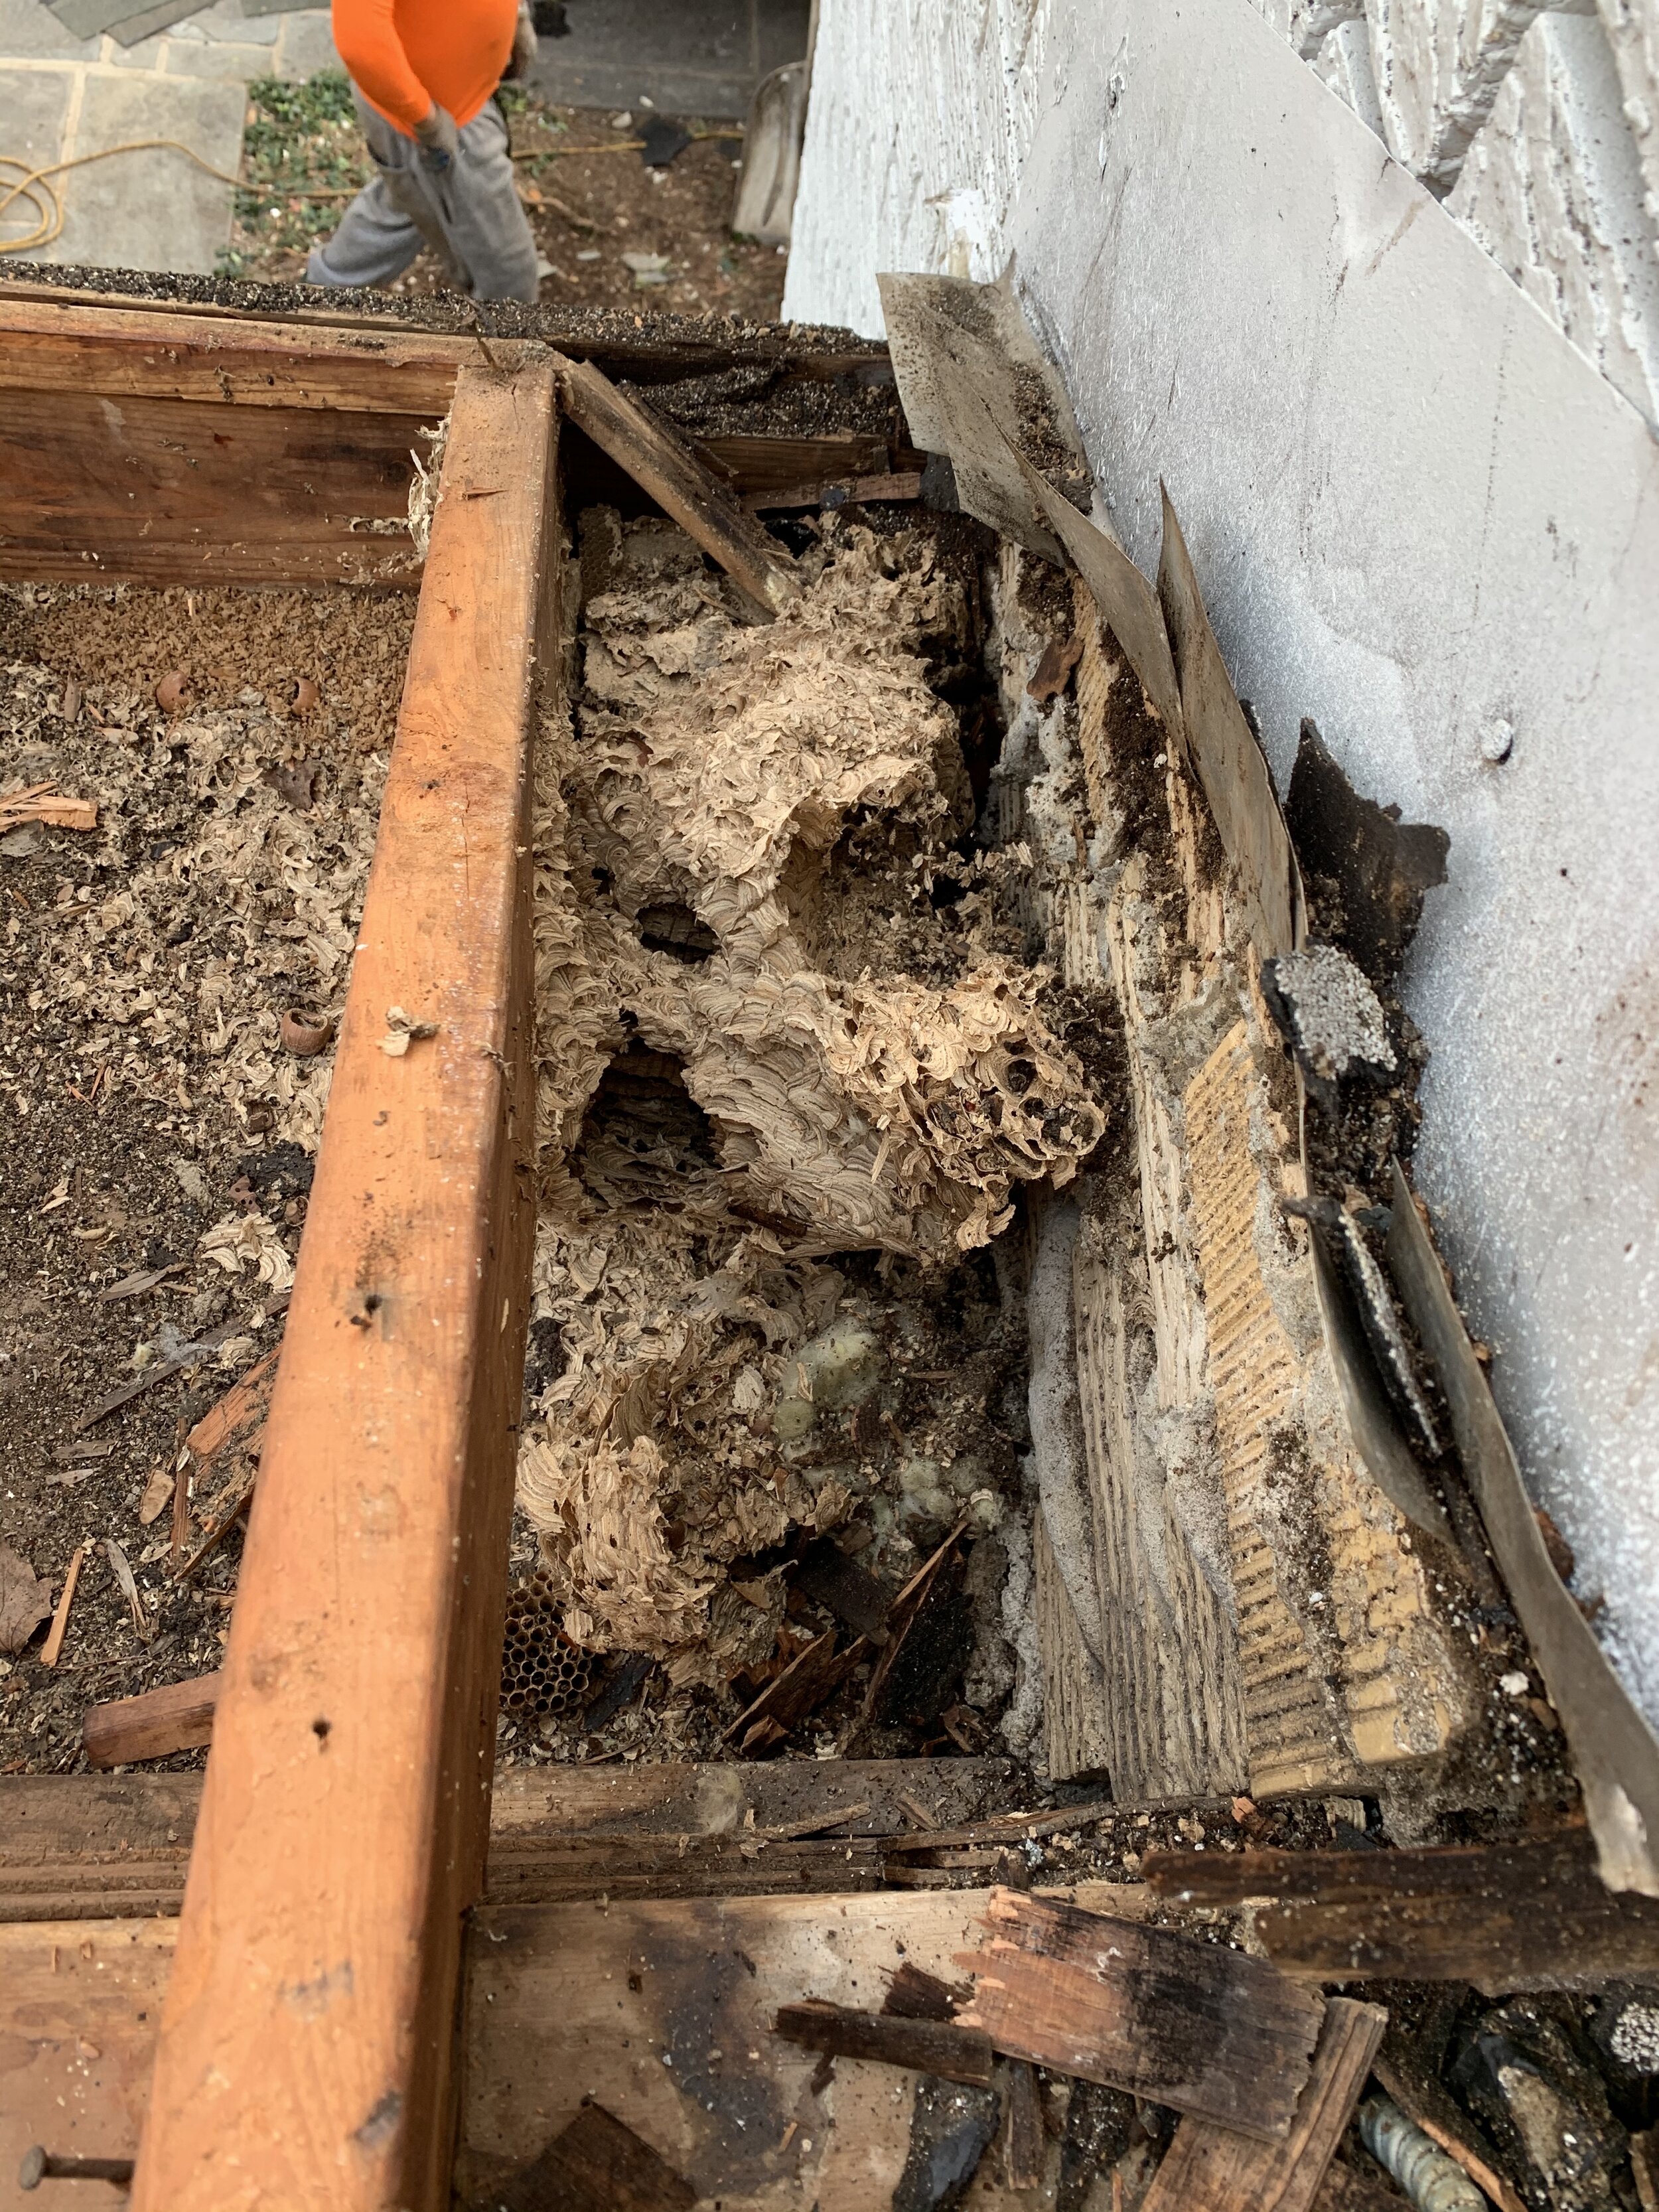
Look at the size of this nest!
Next it’s time to put in the new skylights!!! I chose the solar powered “Fresh Air” Skylight VSS M04 in the deck mounted model. Since this model is solar powered it has greater energy efficiency, greater functionality, and can open to bring in fresh air along with solar powered blinds and a rain sensor that closes the skylight at the first sign of rain. This skylight is not like your normal skylight that is fixed to just bring in light. I can circulate air throughout the home with the ease of opening it with a remote and if the light is to much I can close the blinds to give some more privacy. I cannot tell you how excited I am to get these installed and see how much natural light will flood into the space! My mudroom is almost like a sun-room now with amount of light that I have coming in. To see more about the Fresh Air Skylights.
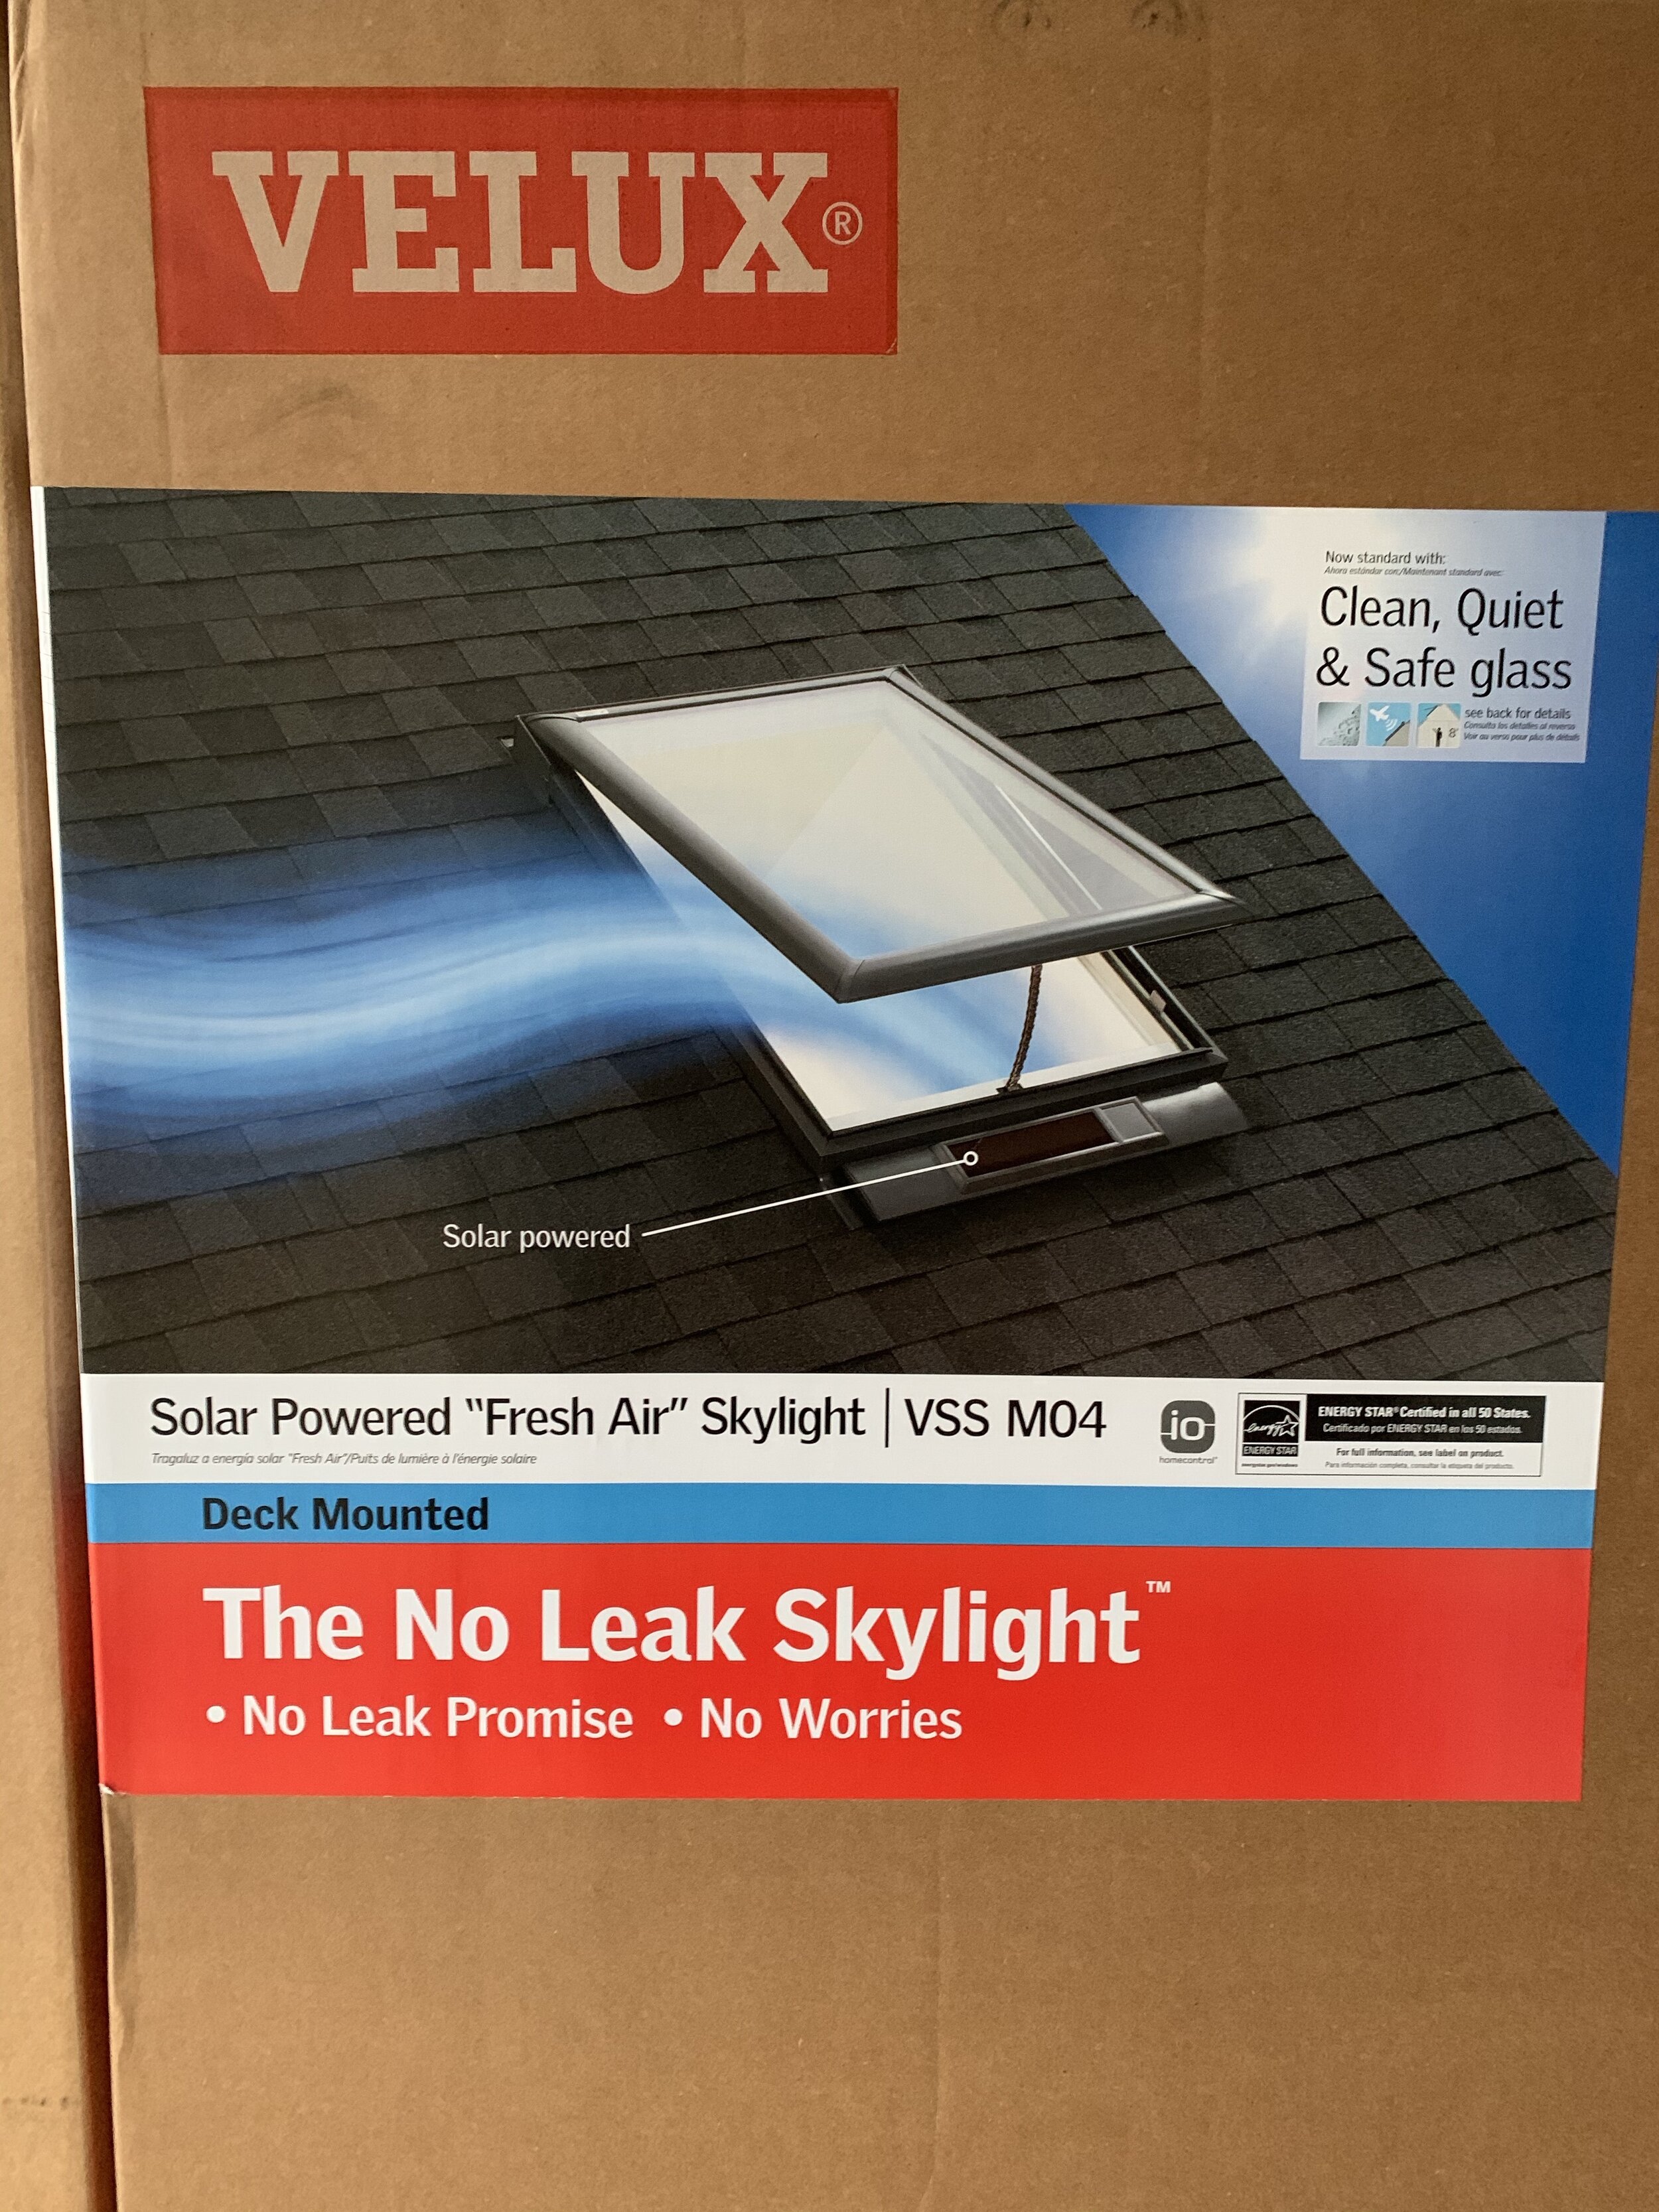
Solar Powered “Fresh Air” Skylight VSS M04

Skylights are in and look incredible.

4 different spaces now become 1 with the walls down and shared light.
Both of the skylights are installed and the light that comes through them lights up the entire home. I can walk through this home and literally have no lights on throughout the entire day saving on a lot of energy. The light from the mudroom area is shared with the living room, dining room, and kitchen. This simple install has literally changed the dynamic of the rest of the home and is making a huge difference in my quest to share light throughout the home. It is crucial that you also find the right installer when putting these in to make sure they are done correctly. For additional information and to find an installer near you.
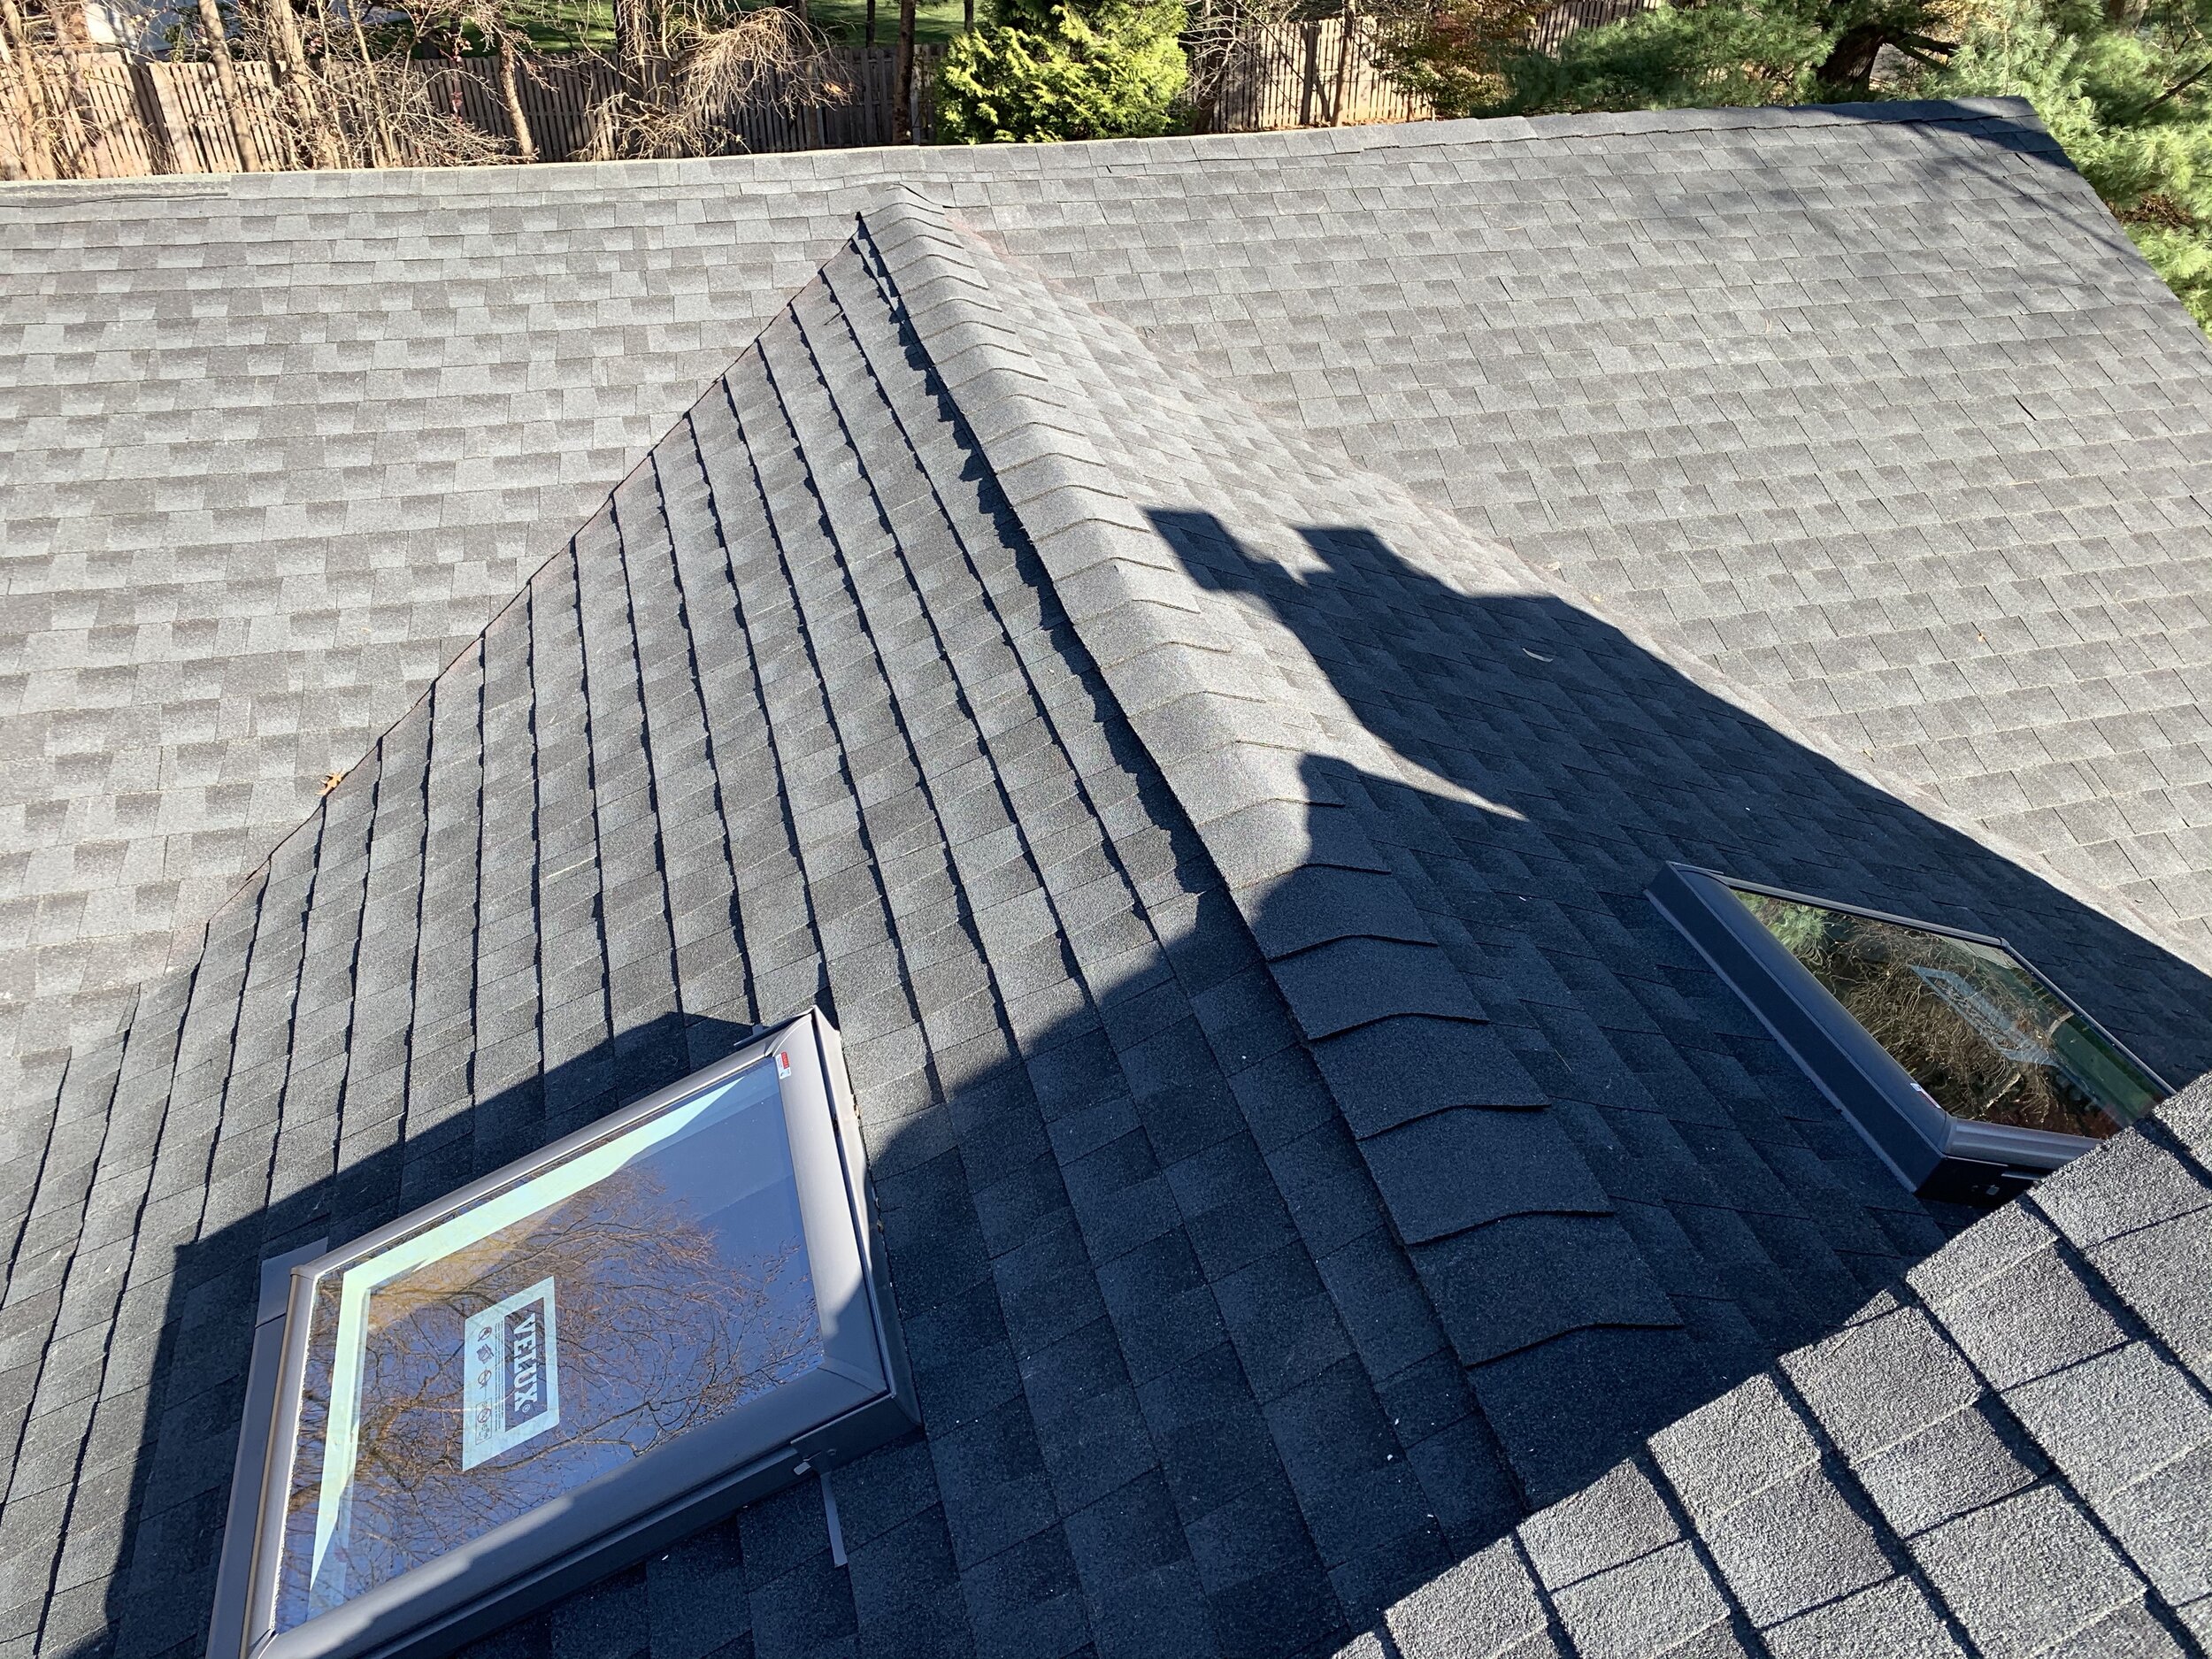
Two new skylights are in with new roof.

New roof is on
The new roof and skylights are complete and my home is completely transformed. Some of the most basic items during a renovation can have such a huge impact. If you are changing out the roof or doing a renovation look for areas that you can install a skylight. The added benefits are going to transform your home and give you the light that you desperately need. Velux has a variety of models and sizes to choose from so check out their website and see what is the right fit for you.
See more here from Velux.