Finally.....Finished
/So we have finally come to the end of the Colaneri Home Project! Wow it was a fun ride and to think we got it done through one of the largest Pandemics the world has ever seen. Thank you 2020 for keeping us on our toes LOL! I knew from the moment I walked through the house there was so much potential to make this a home. The basement is what sold me when I saw the condition it was in. It is always my first stop when looking to renovate a home. I knew we could open up all the walls and make so much more out of the footprint. The Family Room, Dining Area, Kitchen, and Sun Room are the main components of the home so lets take a look back on how these 4 rooms became 1.

The one thing I loved about the home was the mid-century style and the property it was on. With 1 acre of property my house is secluded and my kids have so much room to play and enjoy themselves. The center piece of course is the kitchen. We all know that most of the memories and life moments happen within the kitchen. My goal of the kitchen design was to make my wife happy (The most important goal) and to have a design that followed great form and function. We all want to have a beautifully designed space, but at the end of the day it needs to function properly for your family. This space does exactly that and I would not change a thing about the layout.

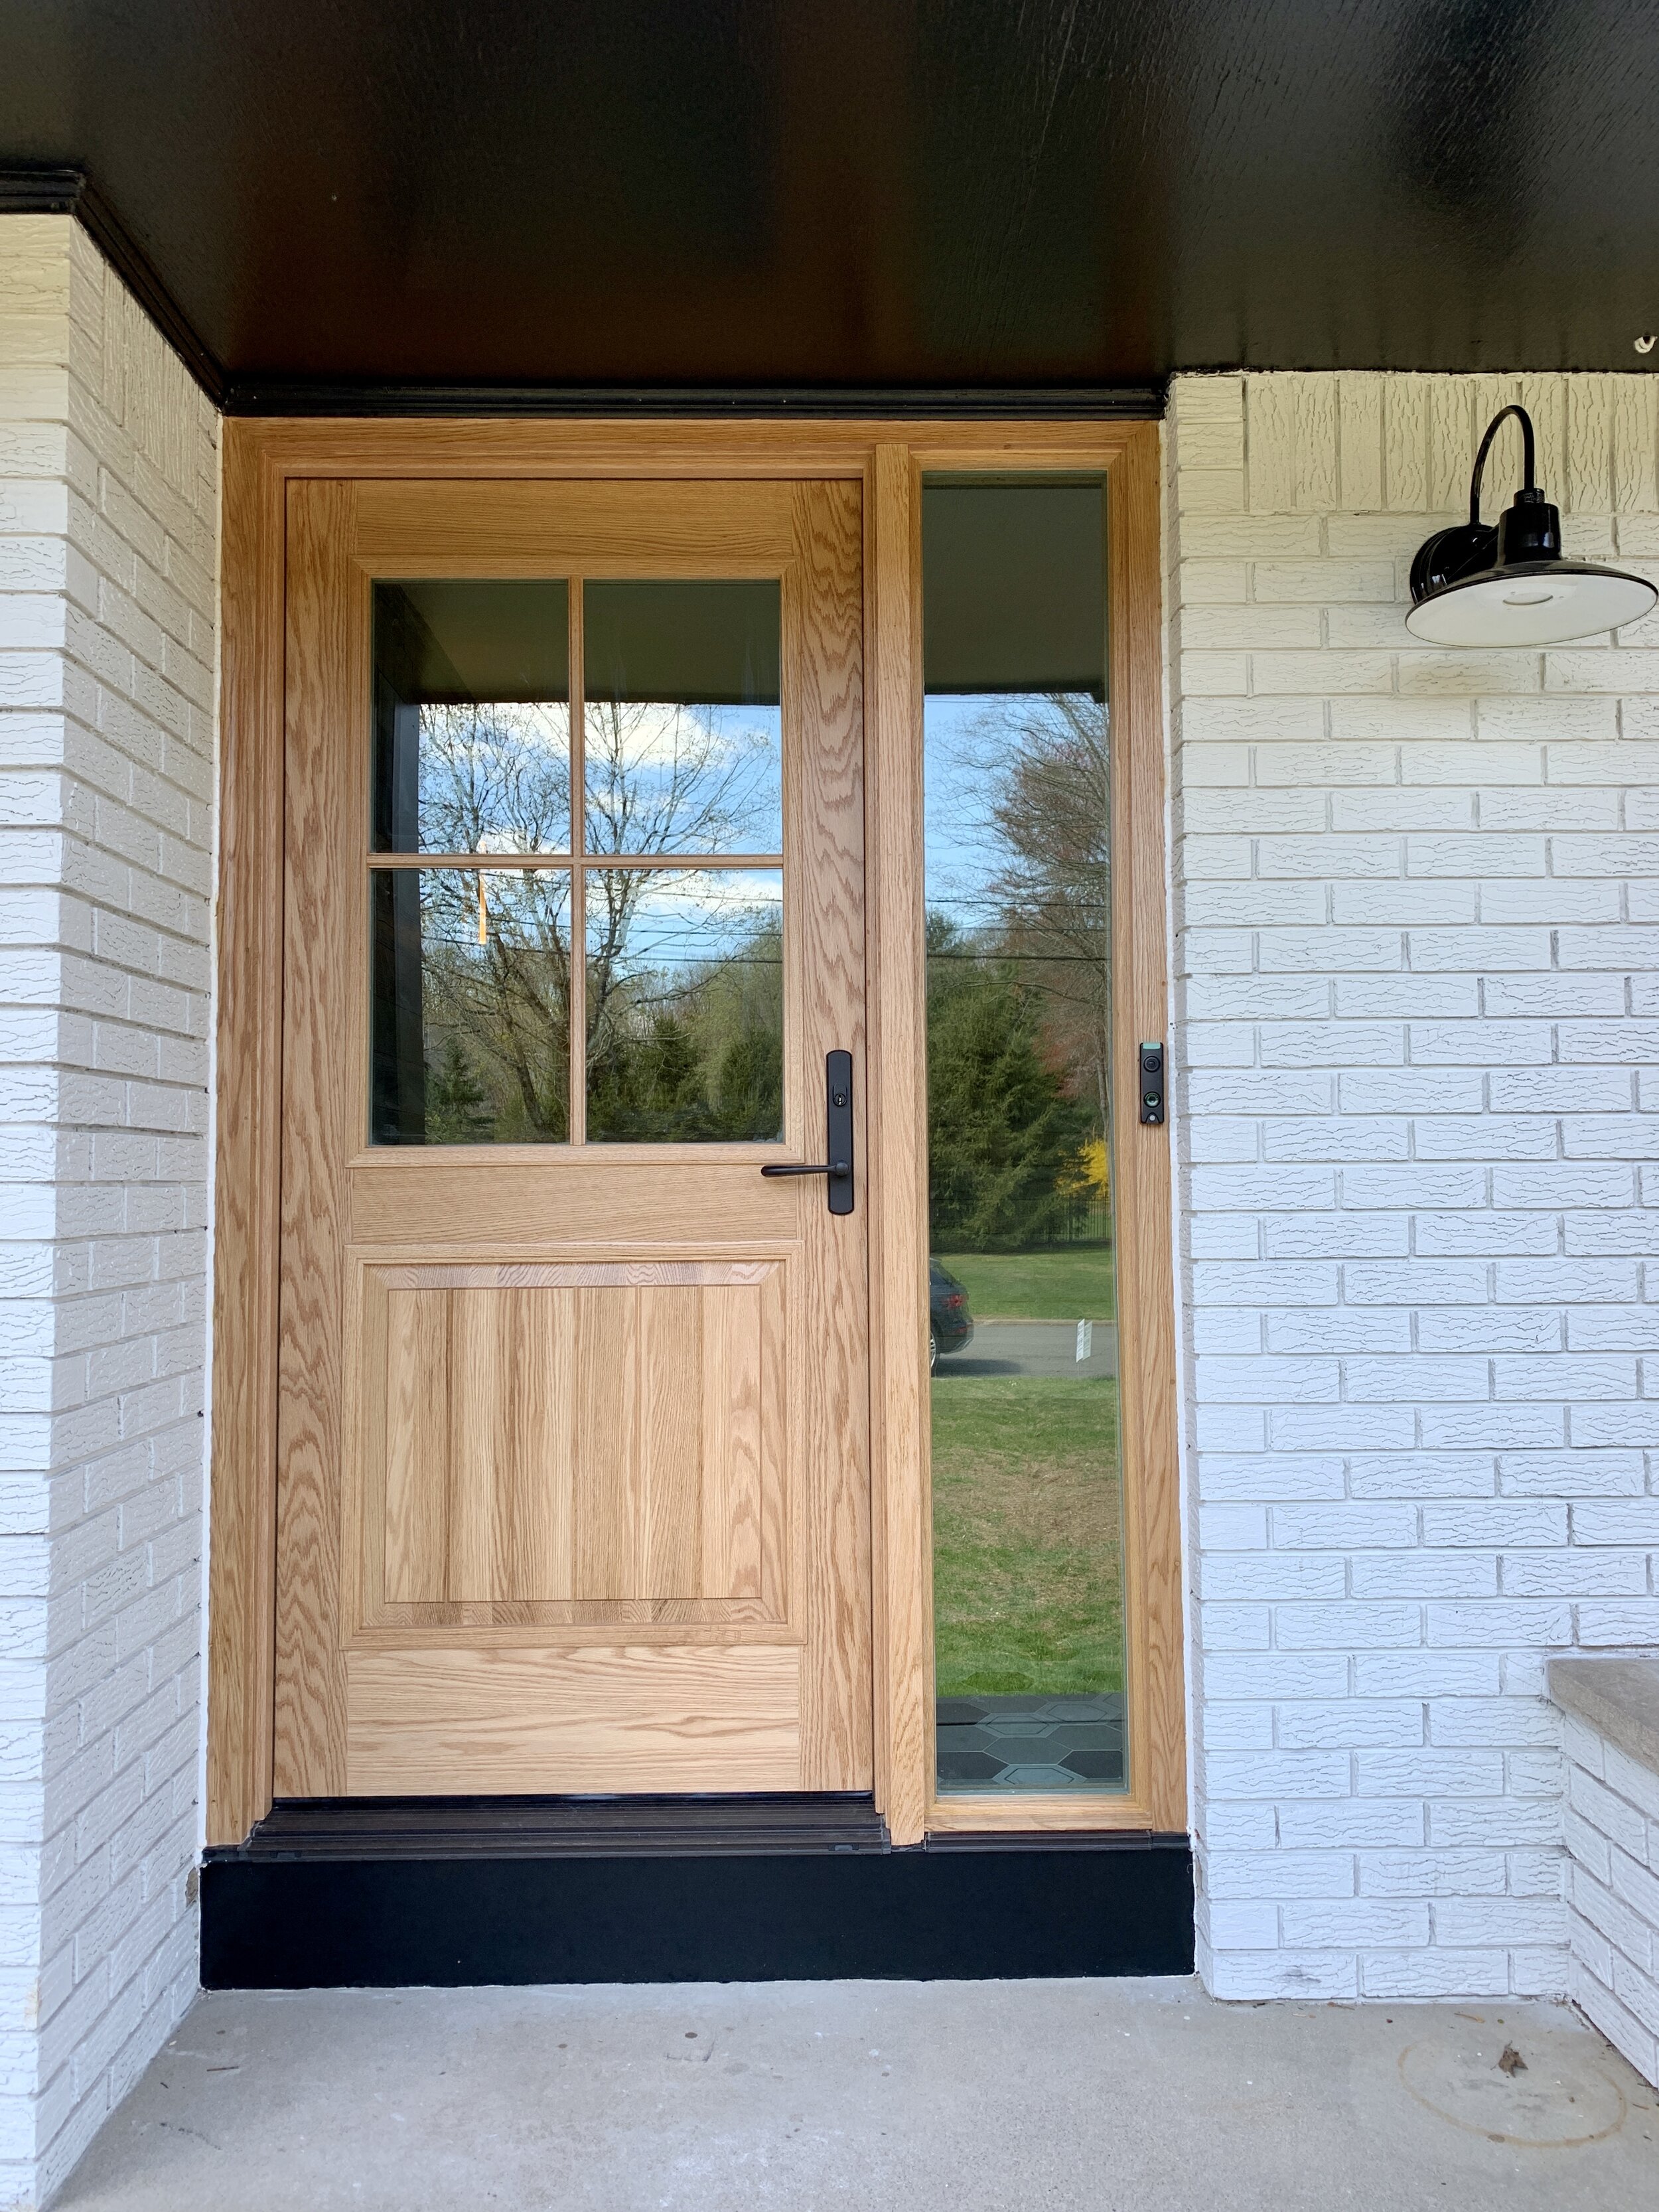
Front Entrance and Family Room

Family Room
The cool part about the kitchen area is that it is open concept, but it is also by itself since it is behind the family room with access out to the rear yard. Putting in the sliding doors and windows throughout the entire home by, Renewal by Andersen, was a game changer and has made the home more energy efficient and stylish with the black windows. My goal was to have all the rooms easy accessible, but also to make sure they were individualized by furniture and lighting.

Kitchen

Kitchen
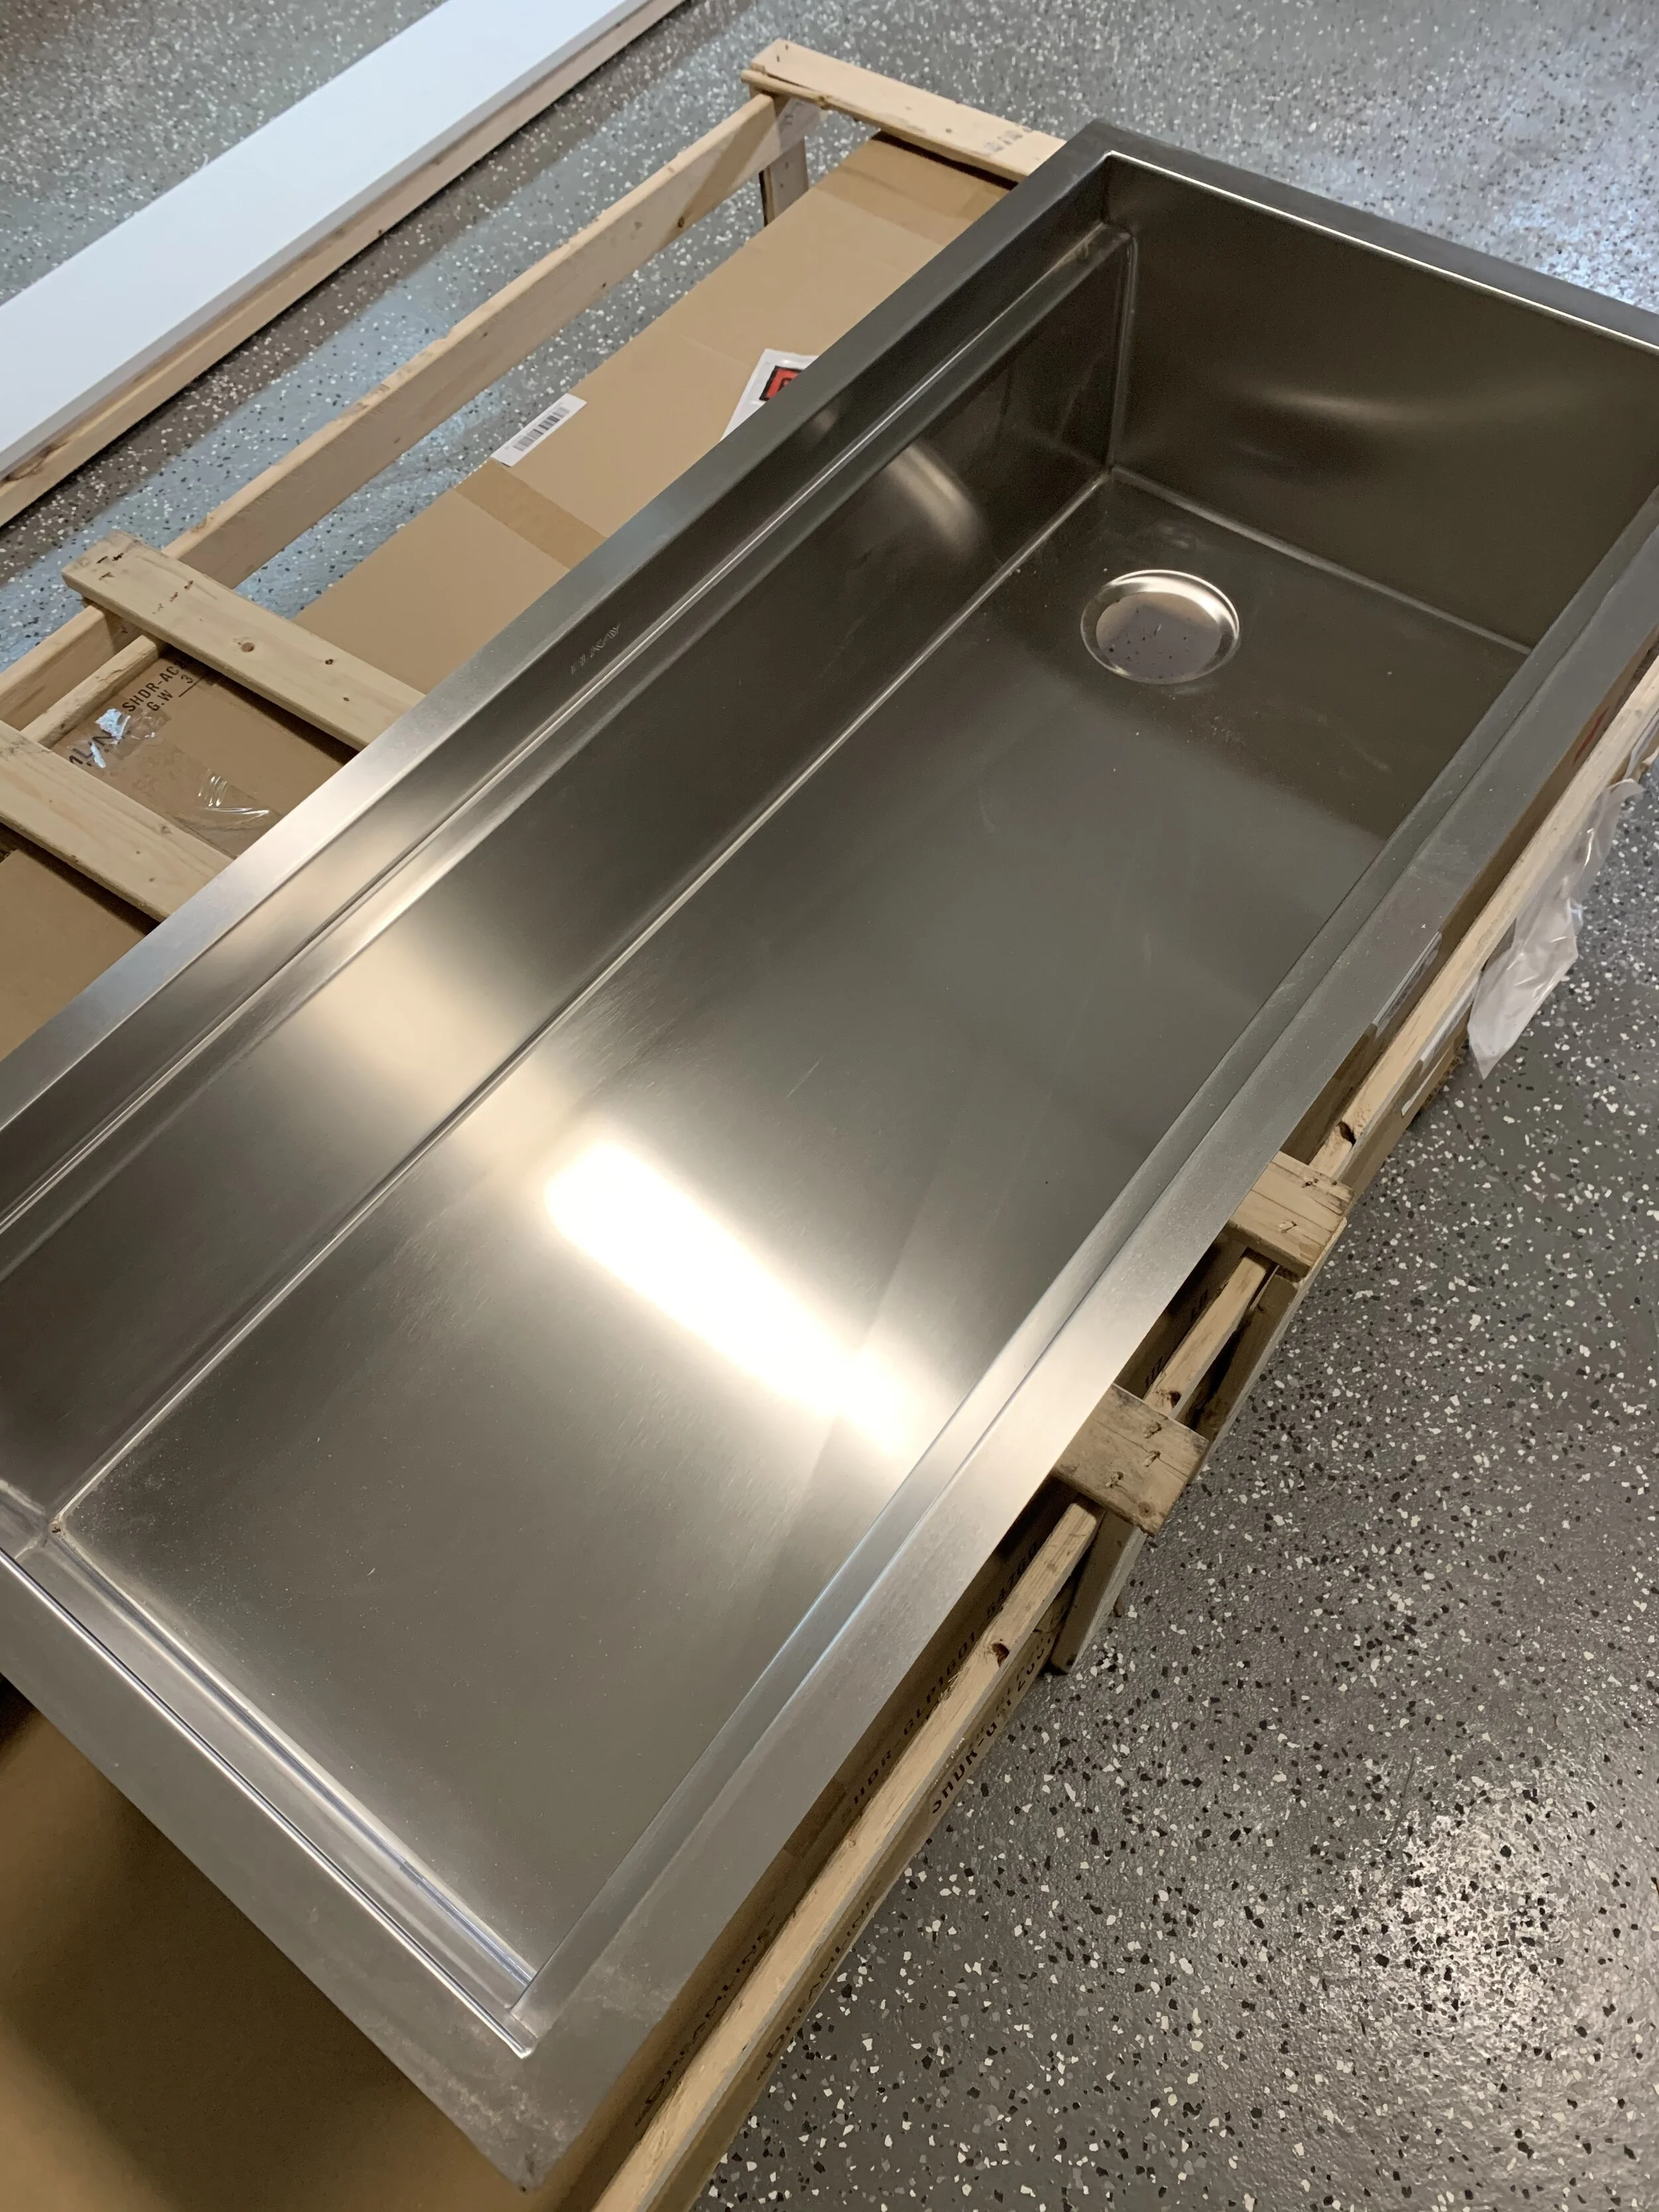
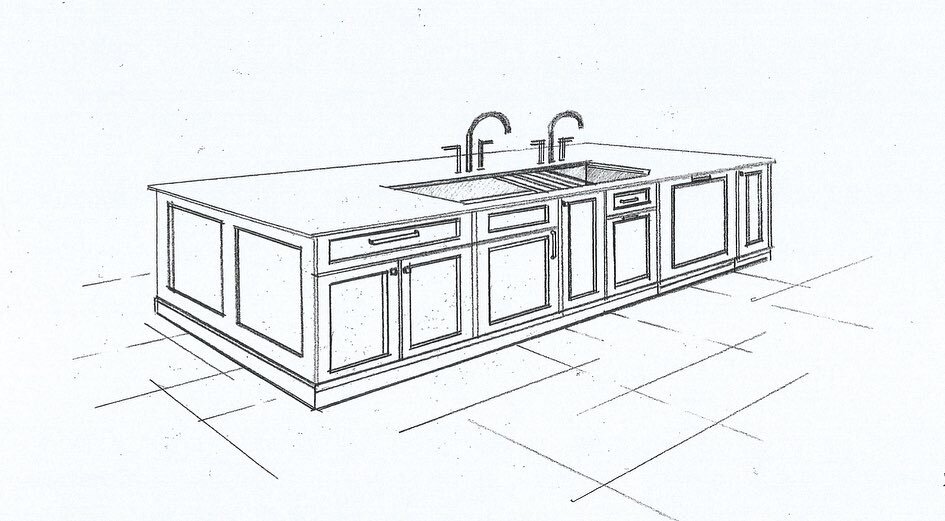
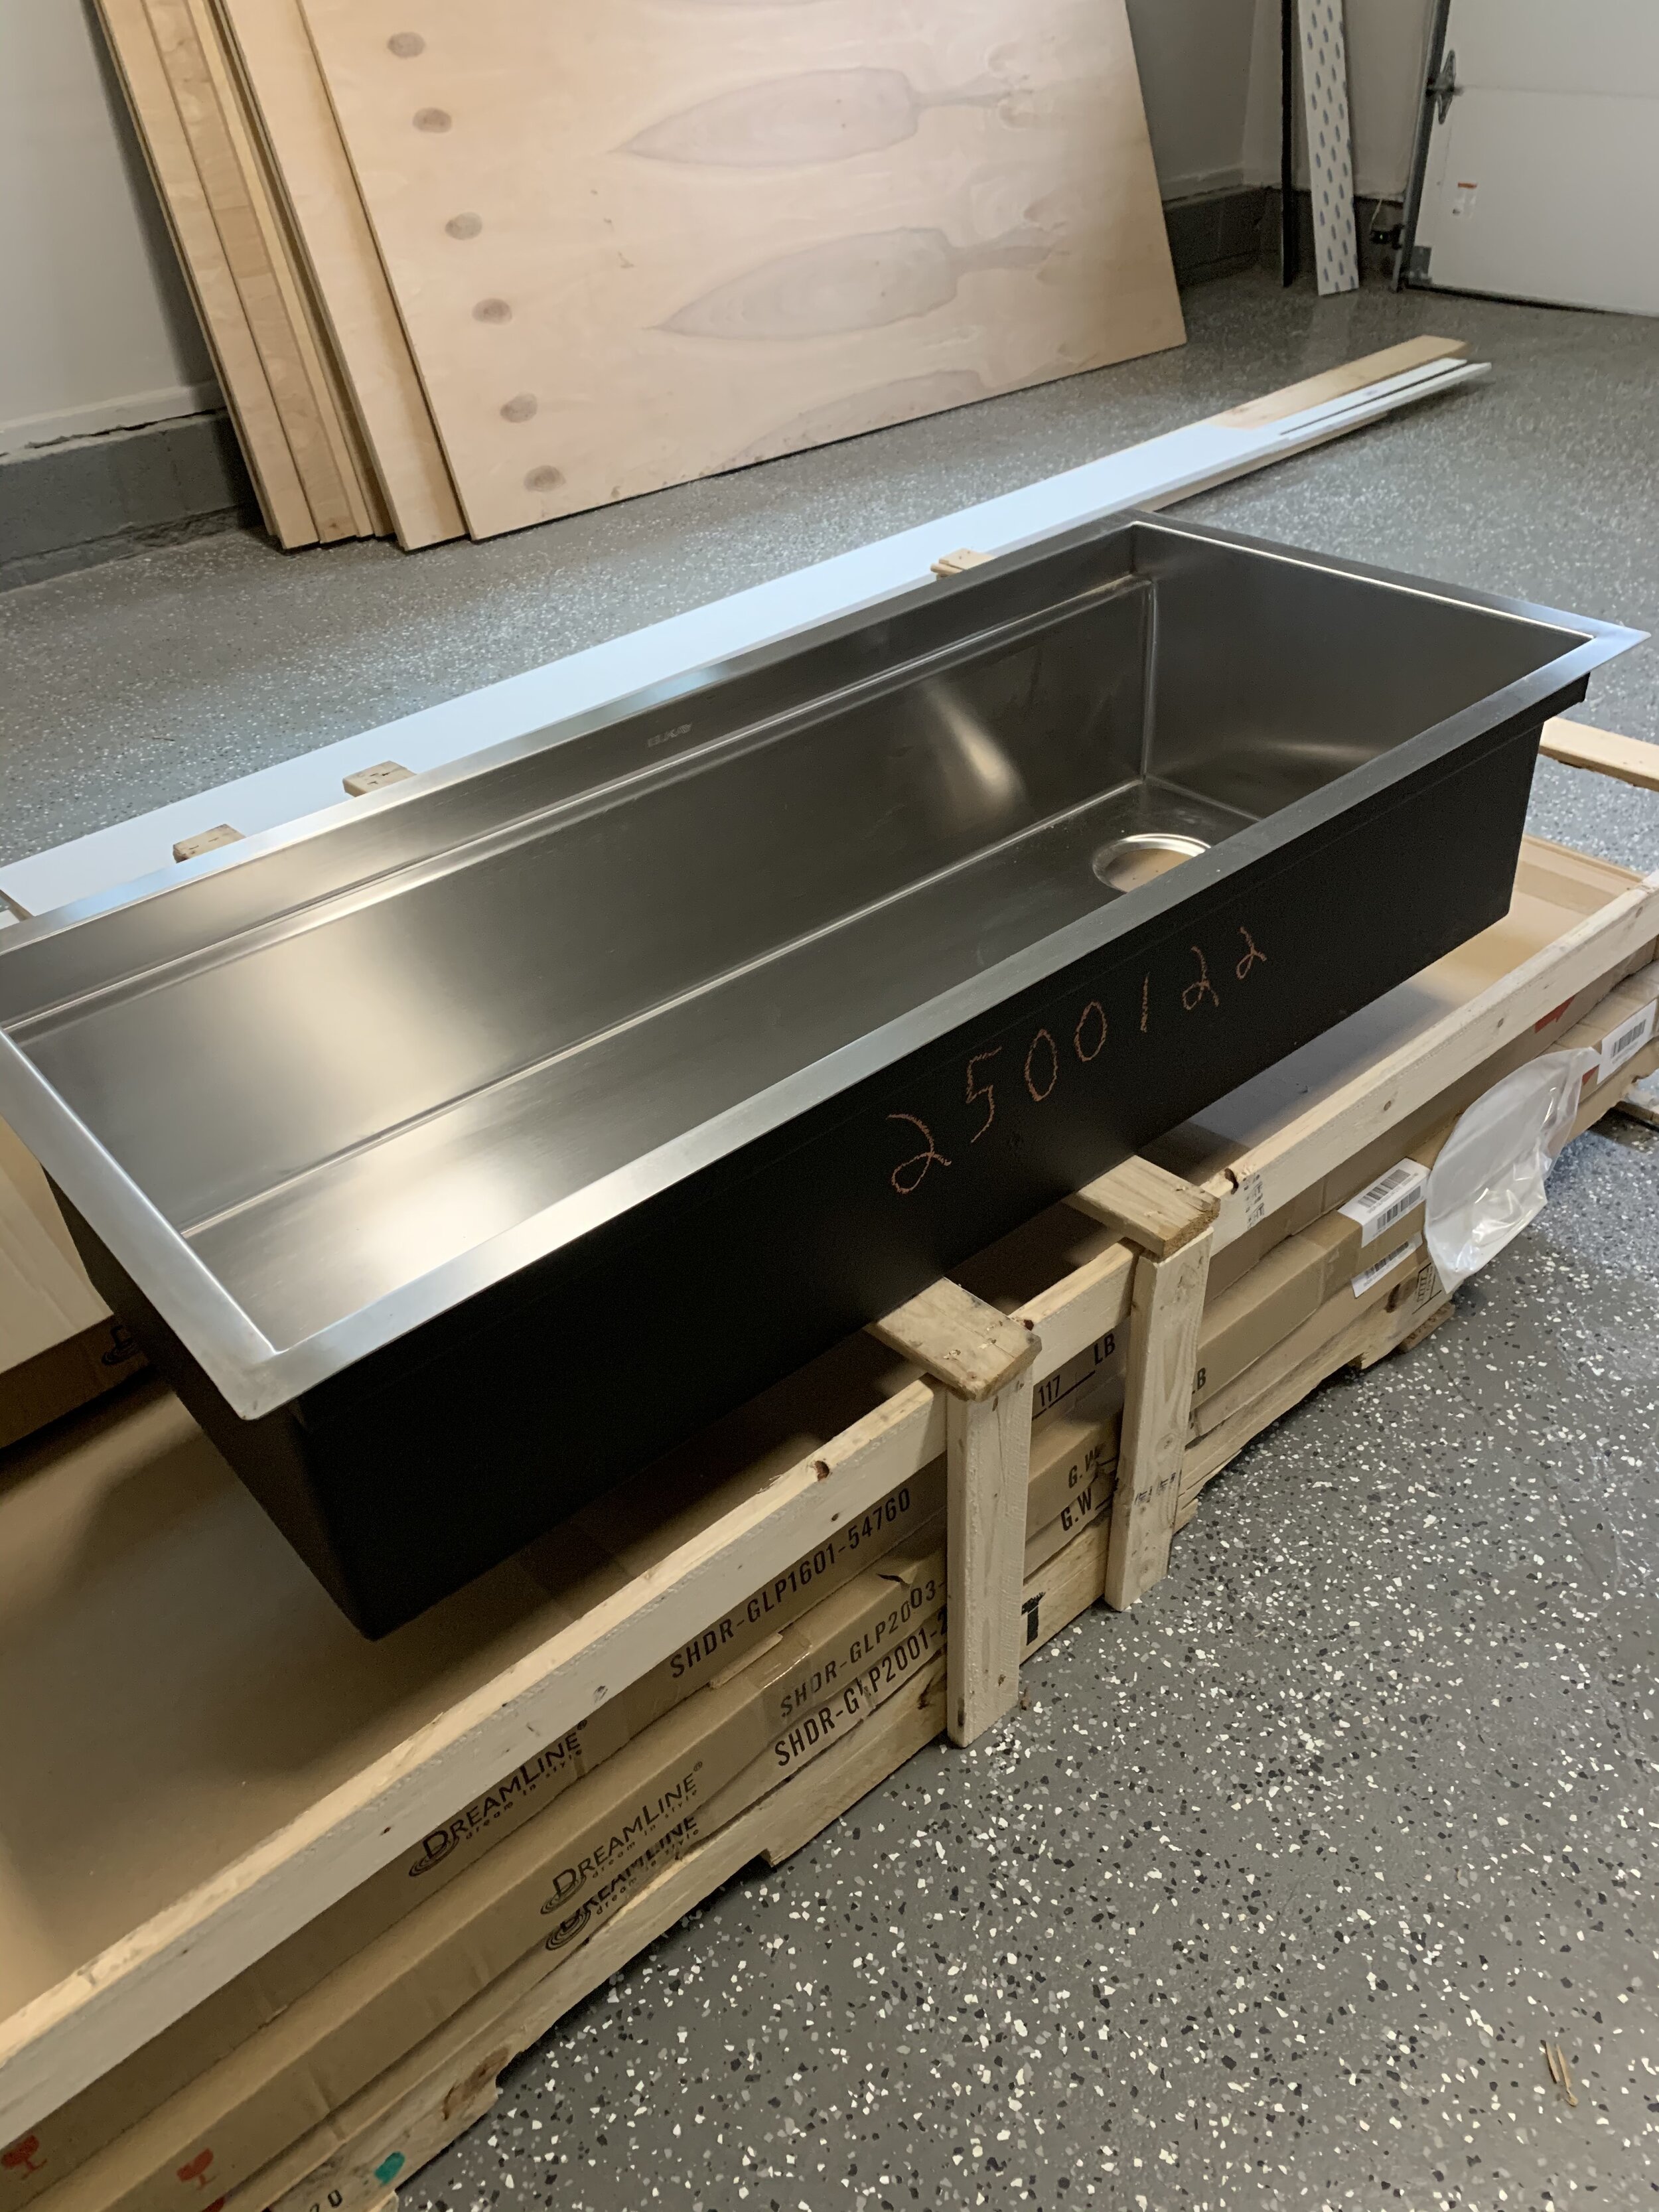
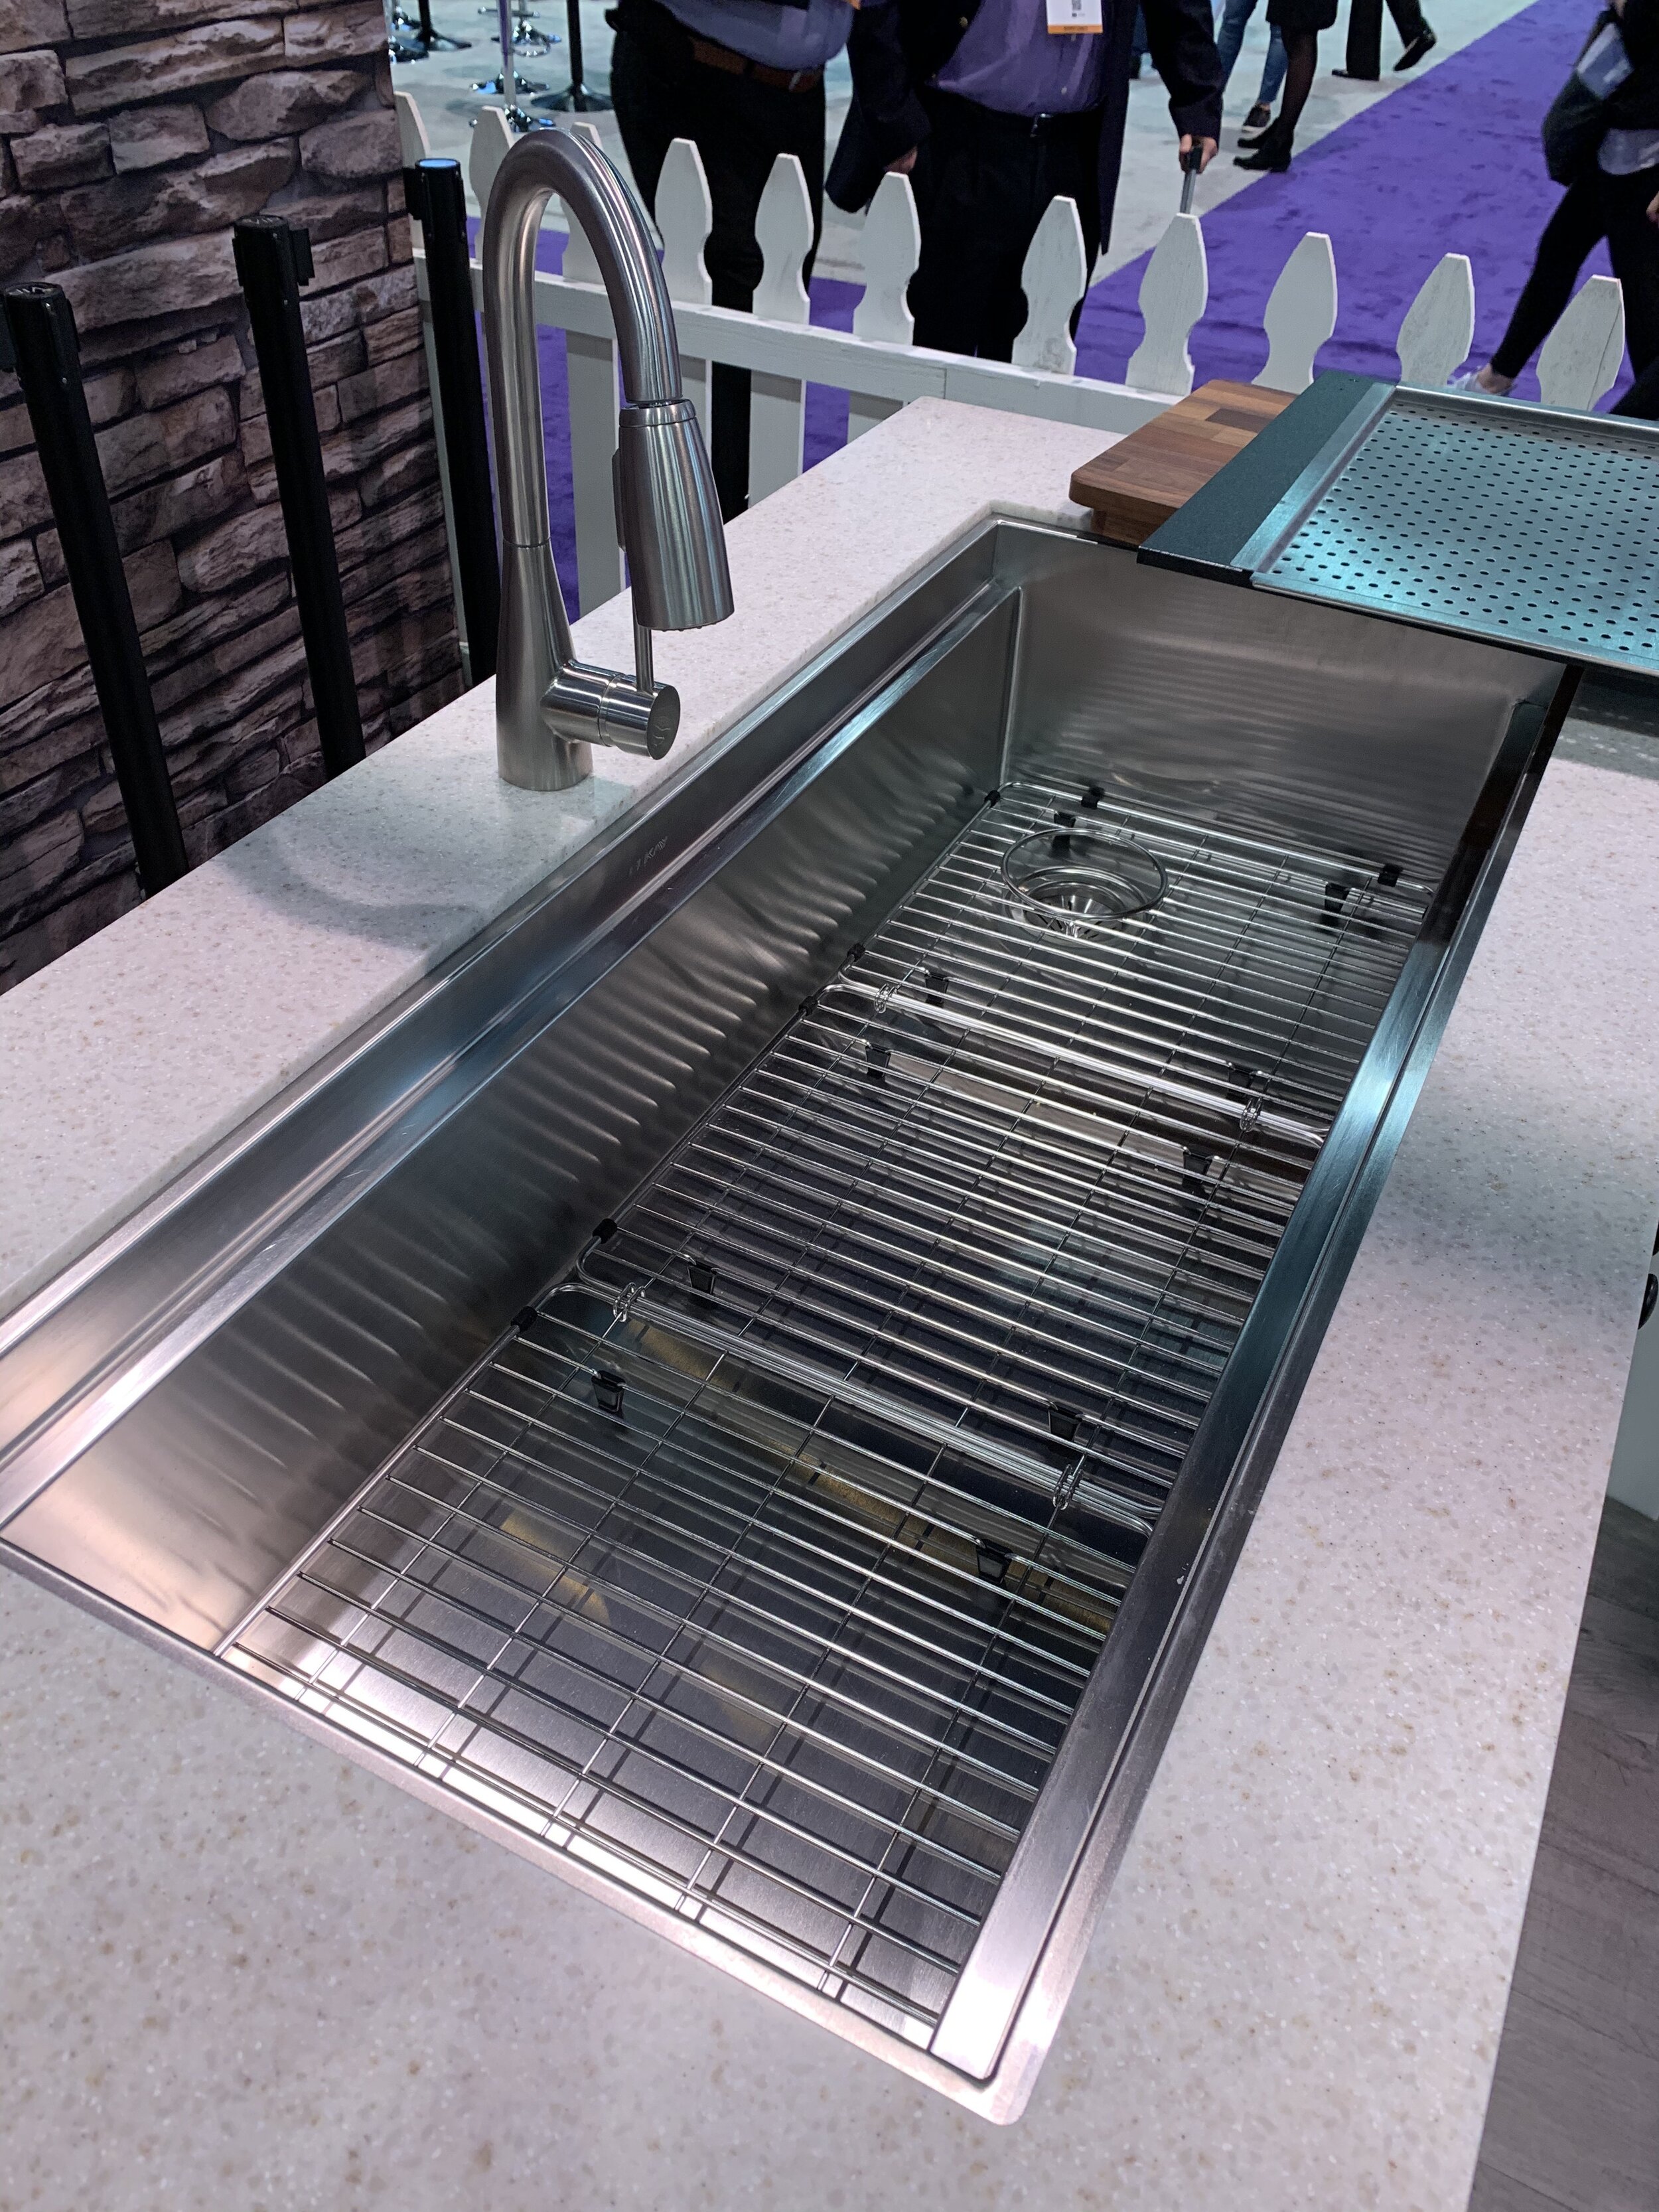
The 11’ island in the kitchen gives our family enough seating for 4 and also a large prep space that allows to cook easily and entertain with ease. The design is all in the details of this space and I wanted to make sure that it was unique as possible. First we start with the island sink by Elkay that is just about 48” and it allows me to place cutting boards, drying racks, and colanders inside of it. There is so much we can do at this sink and that fact that there are 2 faucets, by Elkay, allow me and my wife to use the sink at the same time making cleanup very fast! The counters are SapienStone, Fior Di Bosco on the island and Basalt Black on the back counters. I love the 1/2” thickness giving it a more streamlined design along with the 2 different colors that individualize the space. The veining of the island is perfect and the monochromatic look of the back counters allows the backsplash to stand out. On top of this, the fact that they are porcelain means no stains and no maintenance over the years! The appliances by Monogram and perfectly on point and make cooking a breeze. We went with the 36” range, 5-1 oven, 30” wall oven, 36” custom panel fridge, and custom panel dishwasher. It is nice mix of SS and custom panels to hide some of the appliances. The 5-1 oven has been a game changer for me and is the most convenient appliance I have every used inside of a kitchen. I literally can cook anything and it is done in the blink of an eye. Not to mention it comes out perfect!

Elkay Circuit Chef Sink

Monogram Appliances, 36” range, 5-1 oven, 30” wall oven
The backsplash, by Walker Zanger, is one of those tiles you just fall in love with when you first lay eyes on it. The hexagon pattern plays along with the mid-century modern style and the different textures make the tile look they are moving to create a lot of depth in the space. The lighting and hardware from Buster and Punch again are unique items that really set the kitchen apart. I have 2 different style hardware options with the black and brass along with pendant lights and wall fixtures above the open shelves. I wanted the space to have the proper lighting, but also the ability to set the mood when entertaining.

Walker Zanger Moon Rock hexagon backsplash
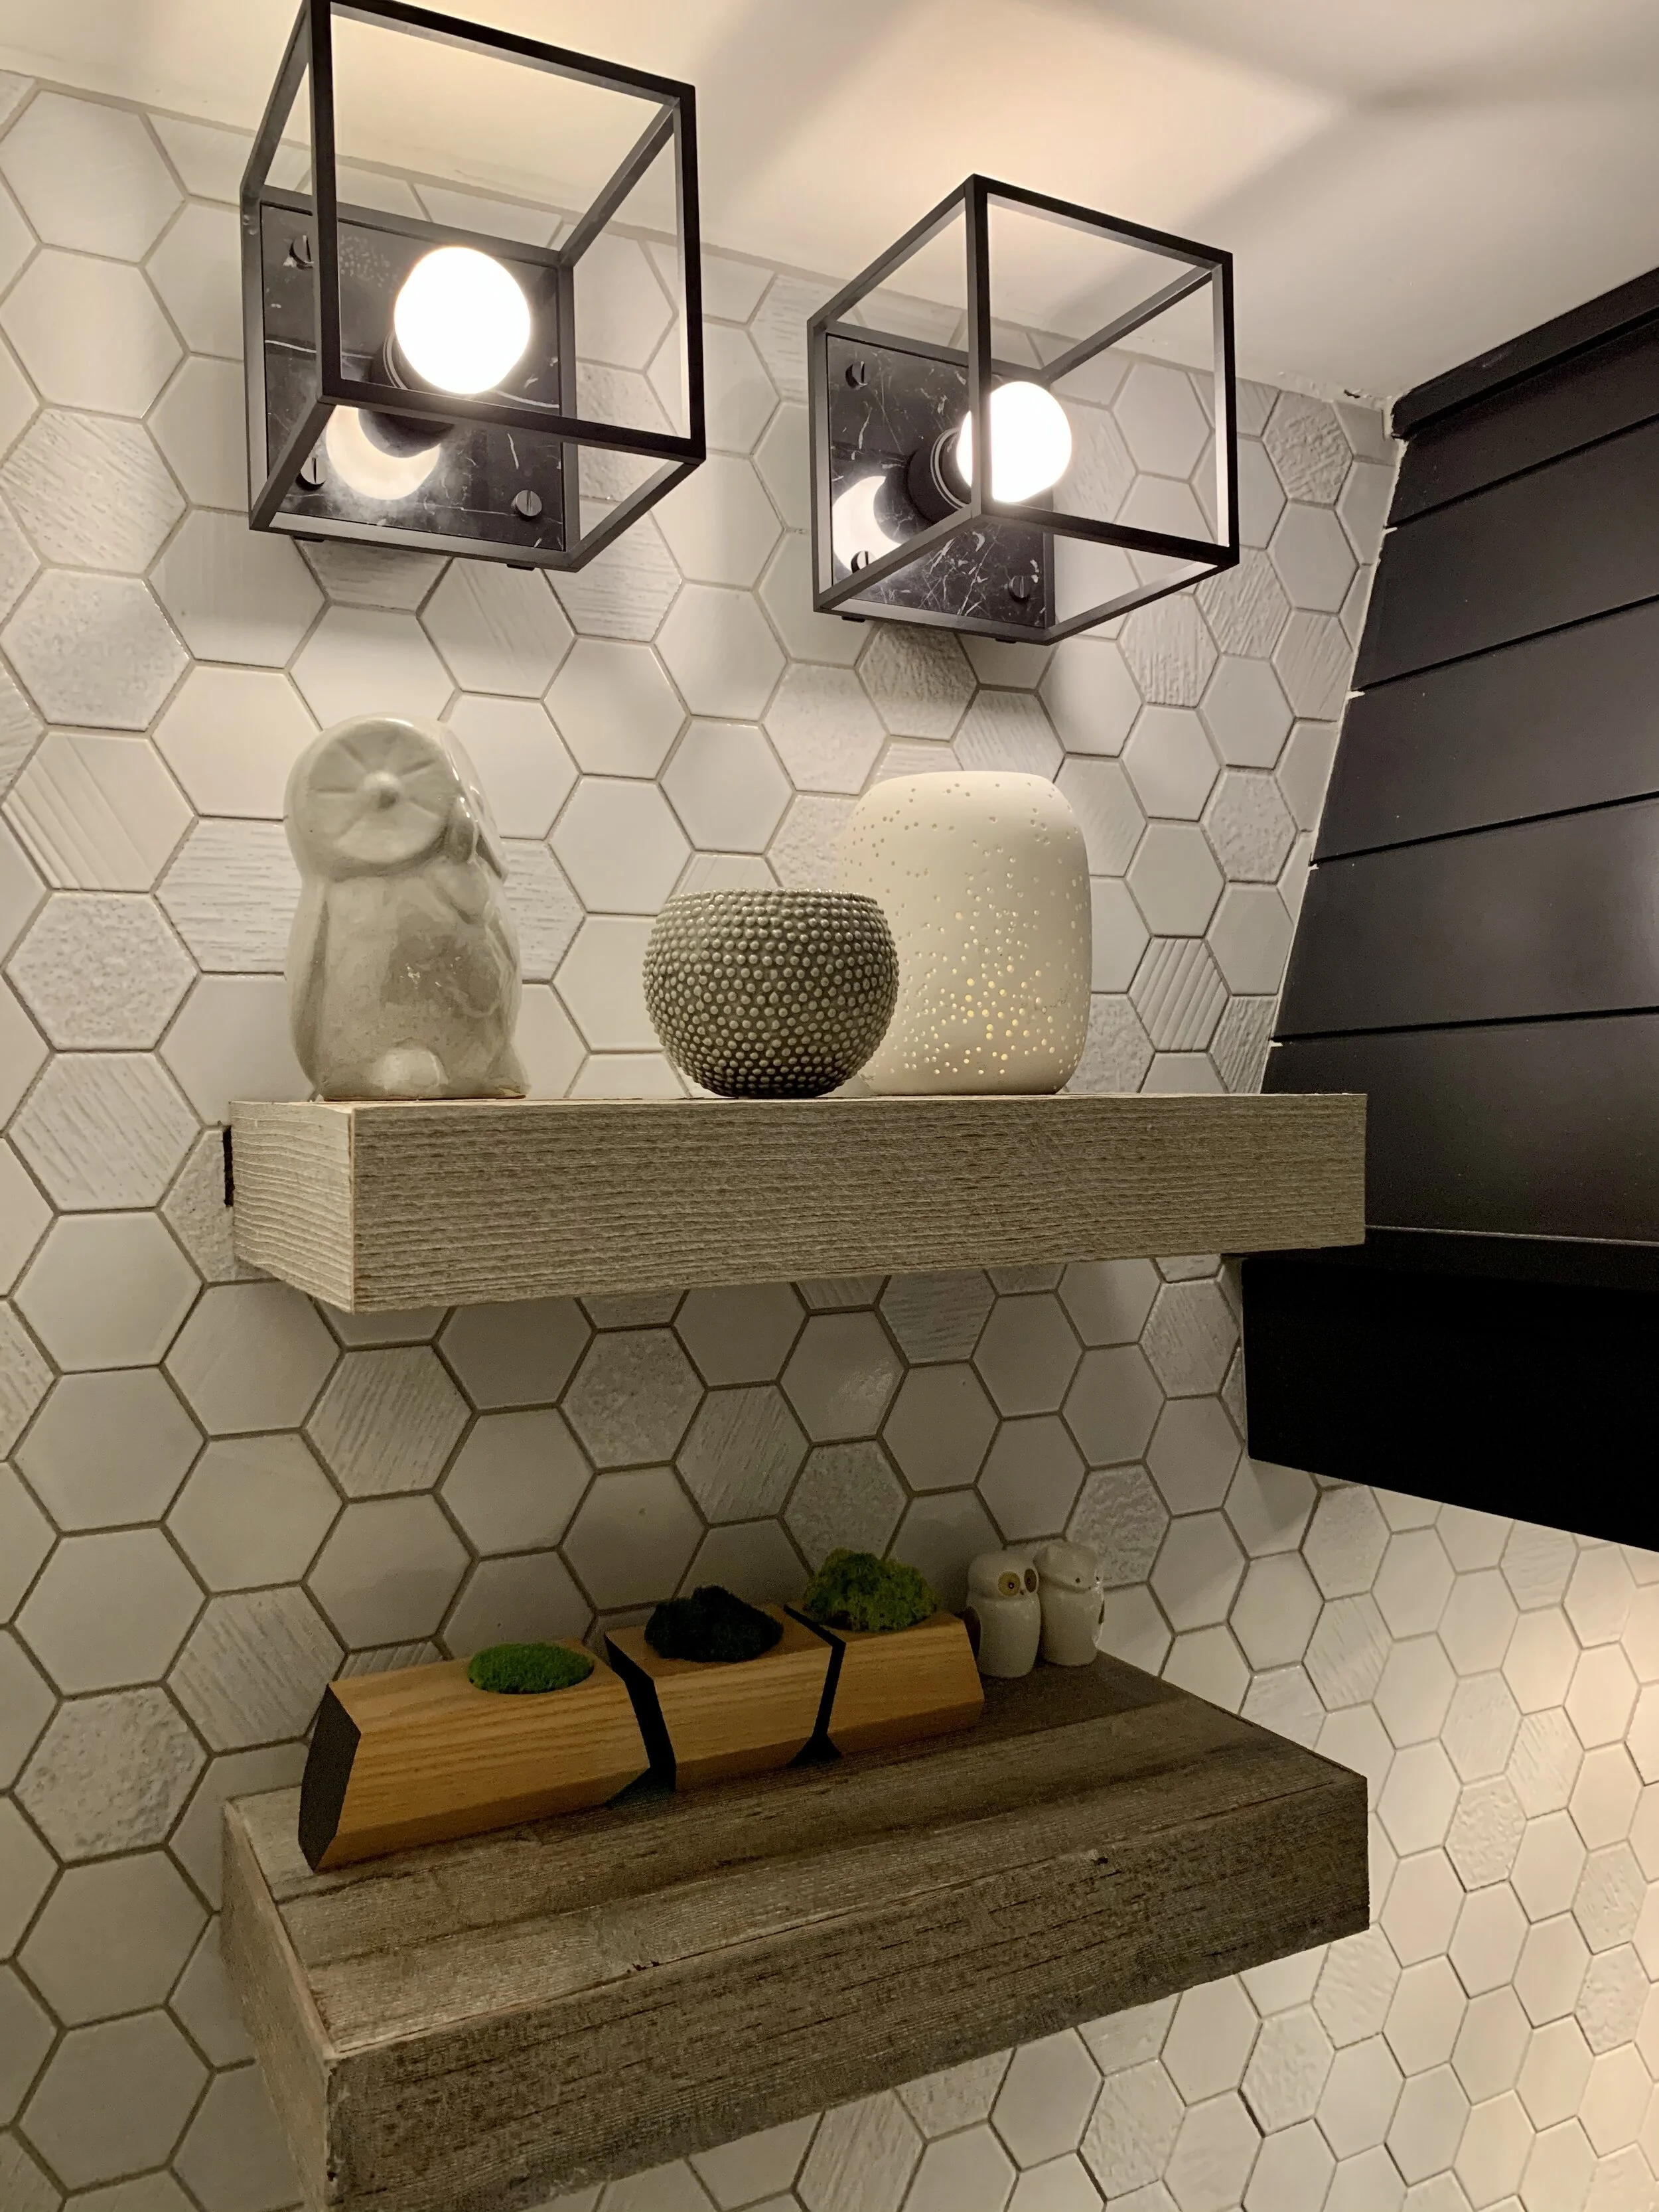
Buster and Punch caged lights

Buster and Punch hardware with Medallion inlay door

Buster and Punch hardware with Medallion inlay door
The kitchen cabinets by Medallion, installed by Certified Kitchens, are just gorgeous and give us plenty of storage throughout the kitchen. The back section is in a light gray Cherry wood with black undertones. The island is painted in the same color as all the trim and doors throughout the home. I wanted this color to be the theme that was seen throughout the home. The color, Benjamin Moore Wrought Iron, has a mix of black, brown and gray. All the doors and draws are inlay giving it a much more custom and refined look.
The last area of the home is the Sunroom that brings in incredible light, but also acts in so many different functions for us as a family. We use it as a play area for the kids, a place to put on shoes and jackets, and just a relaxing environment to have our morning coffee.
I am so excited to finally be moved into the home along with having great memories with my family. The question now is when we are going to be starting our next family project! If I were a betting man, I would say sooner than later LOL :)

View from sun room into main part of the home.

Sun Room